Lens Wishlist: XF 14-40mm F4 OIS WR
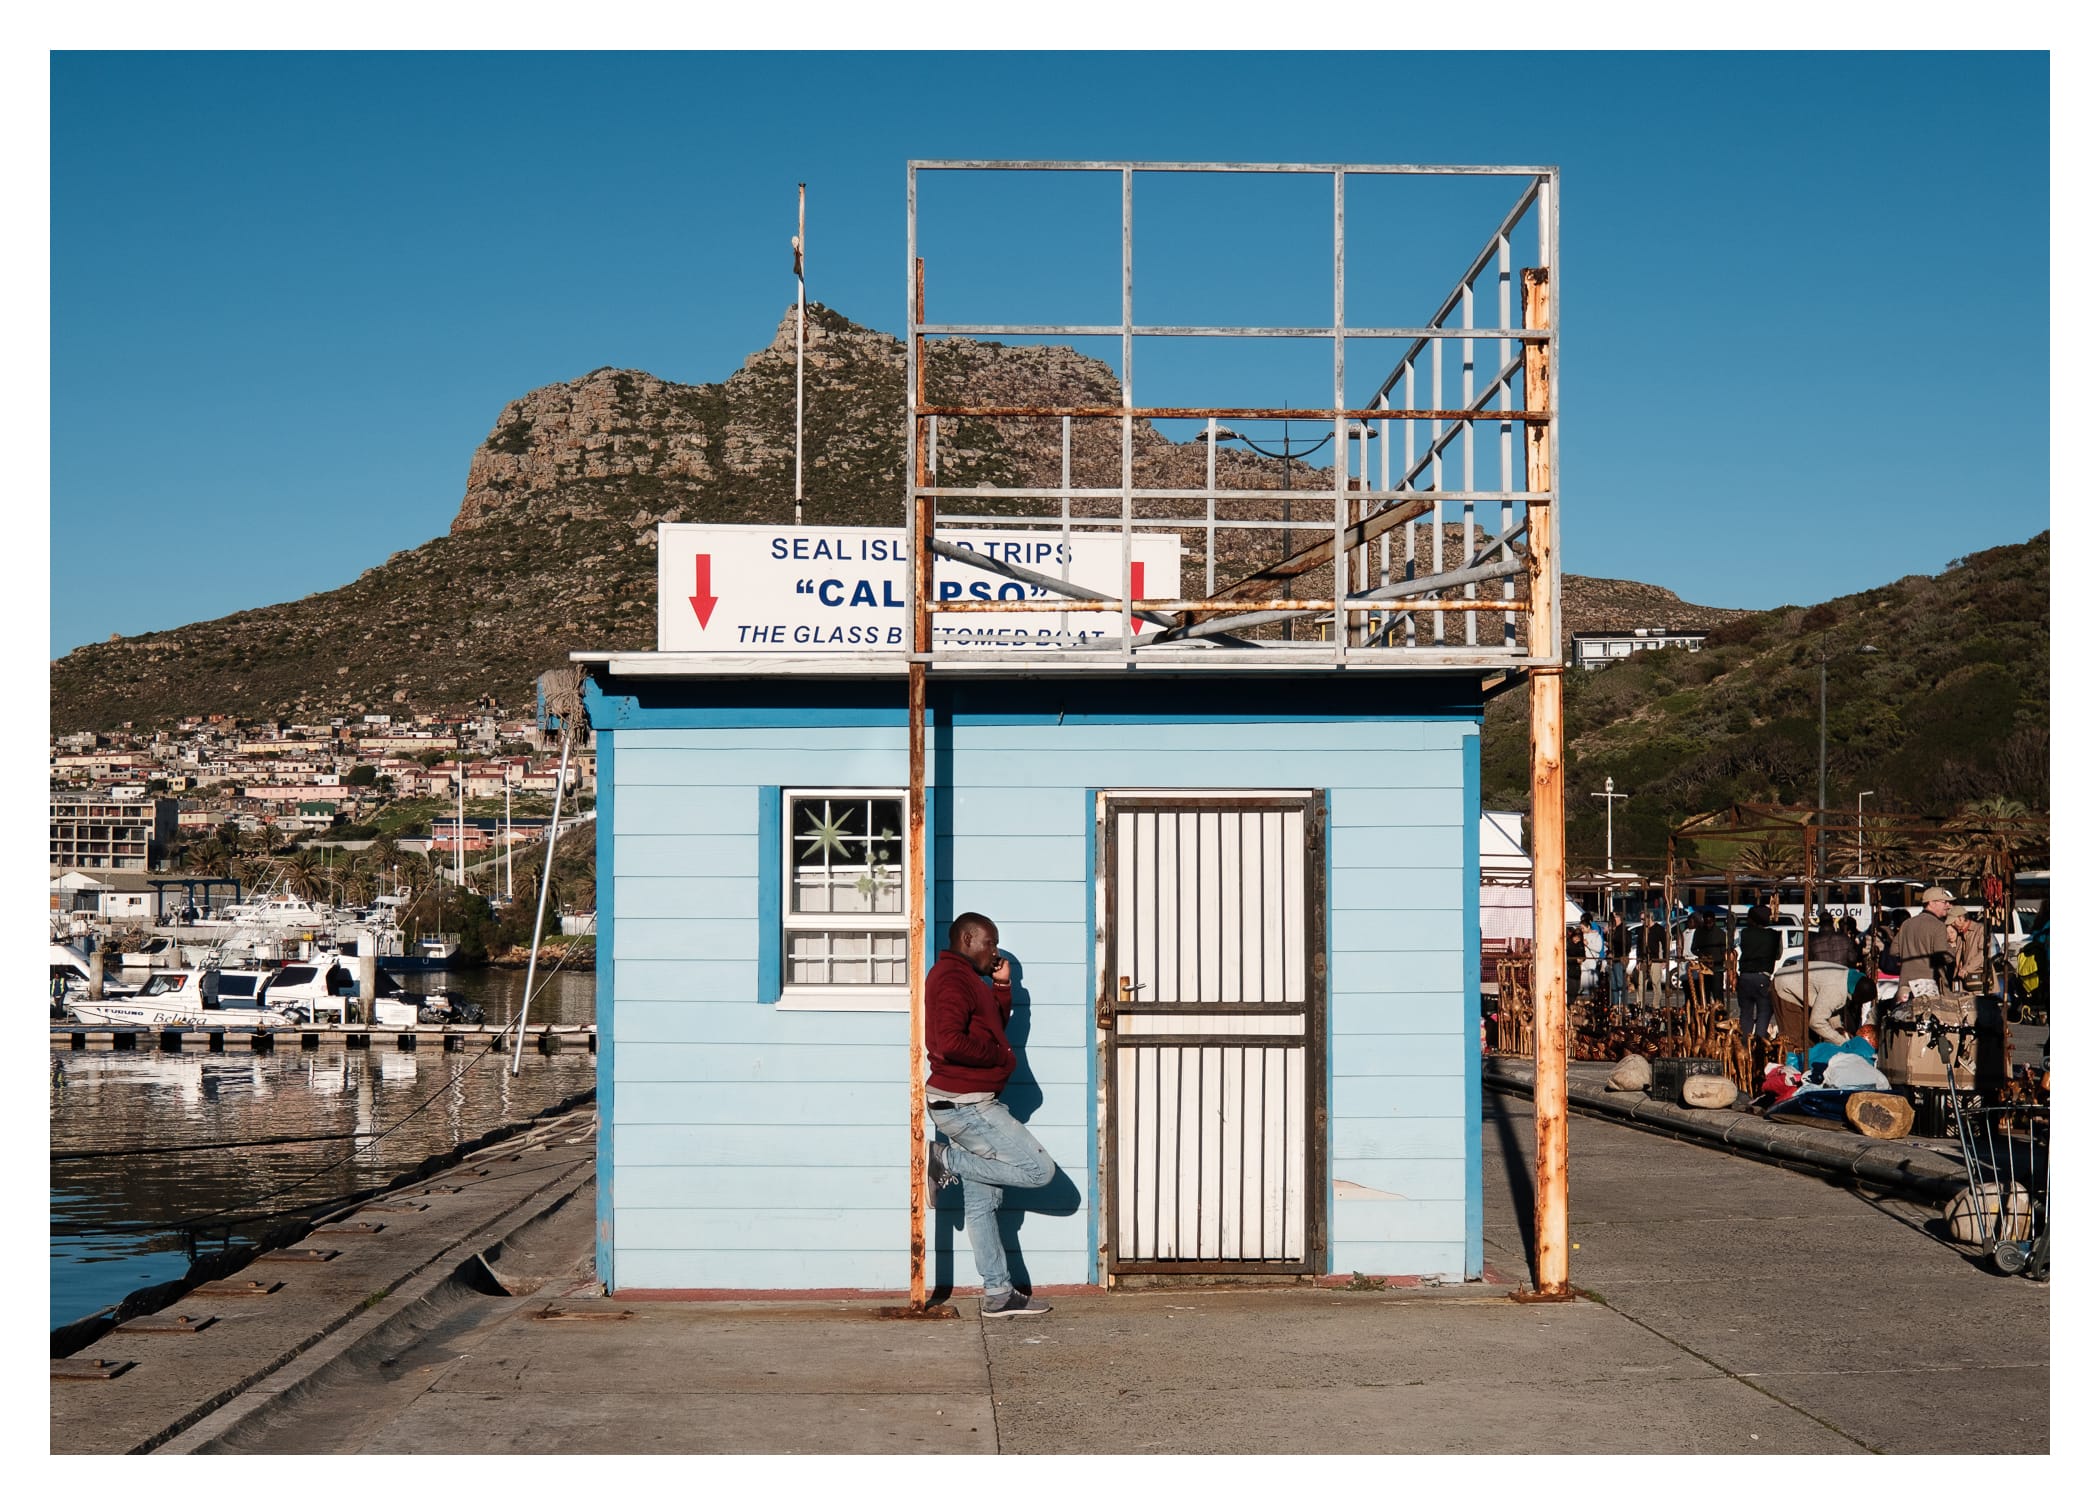
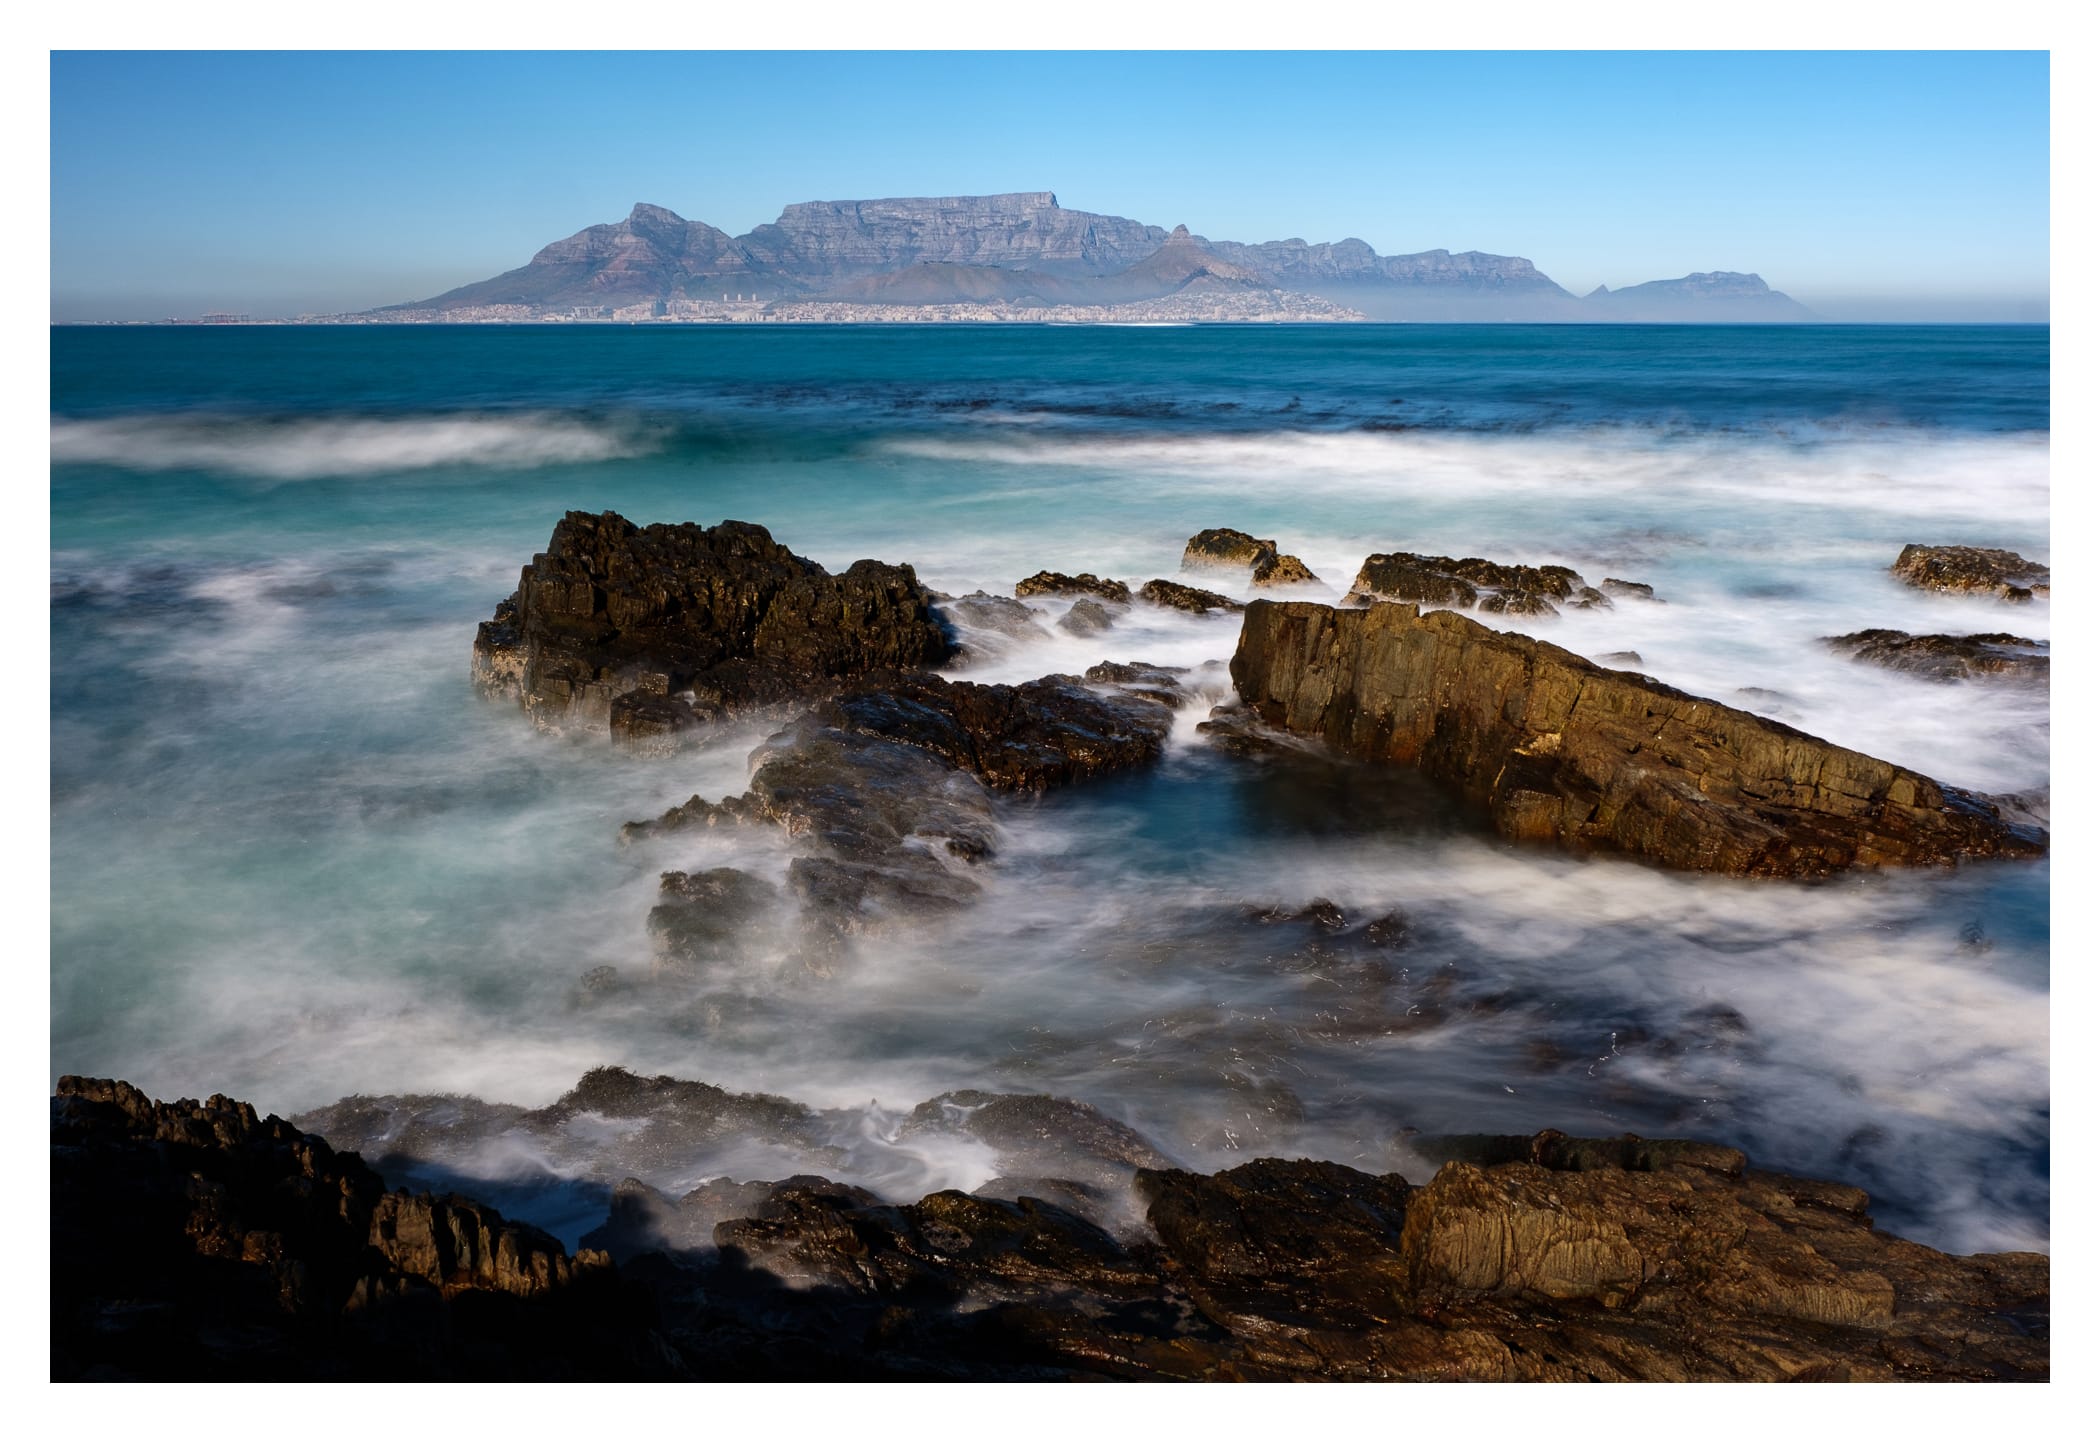
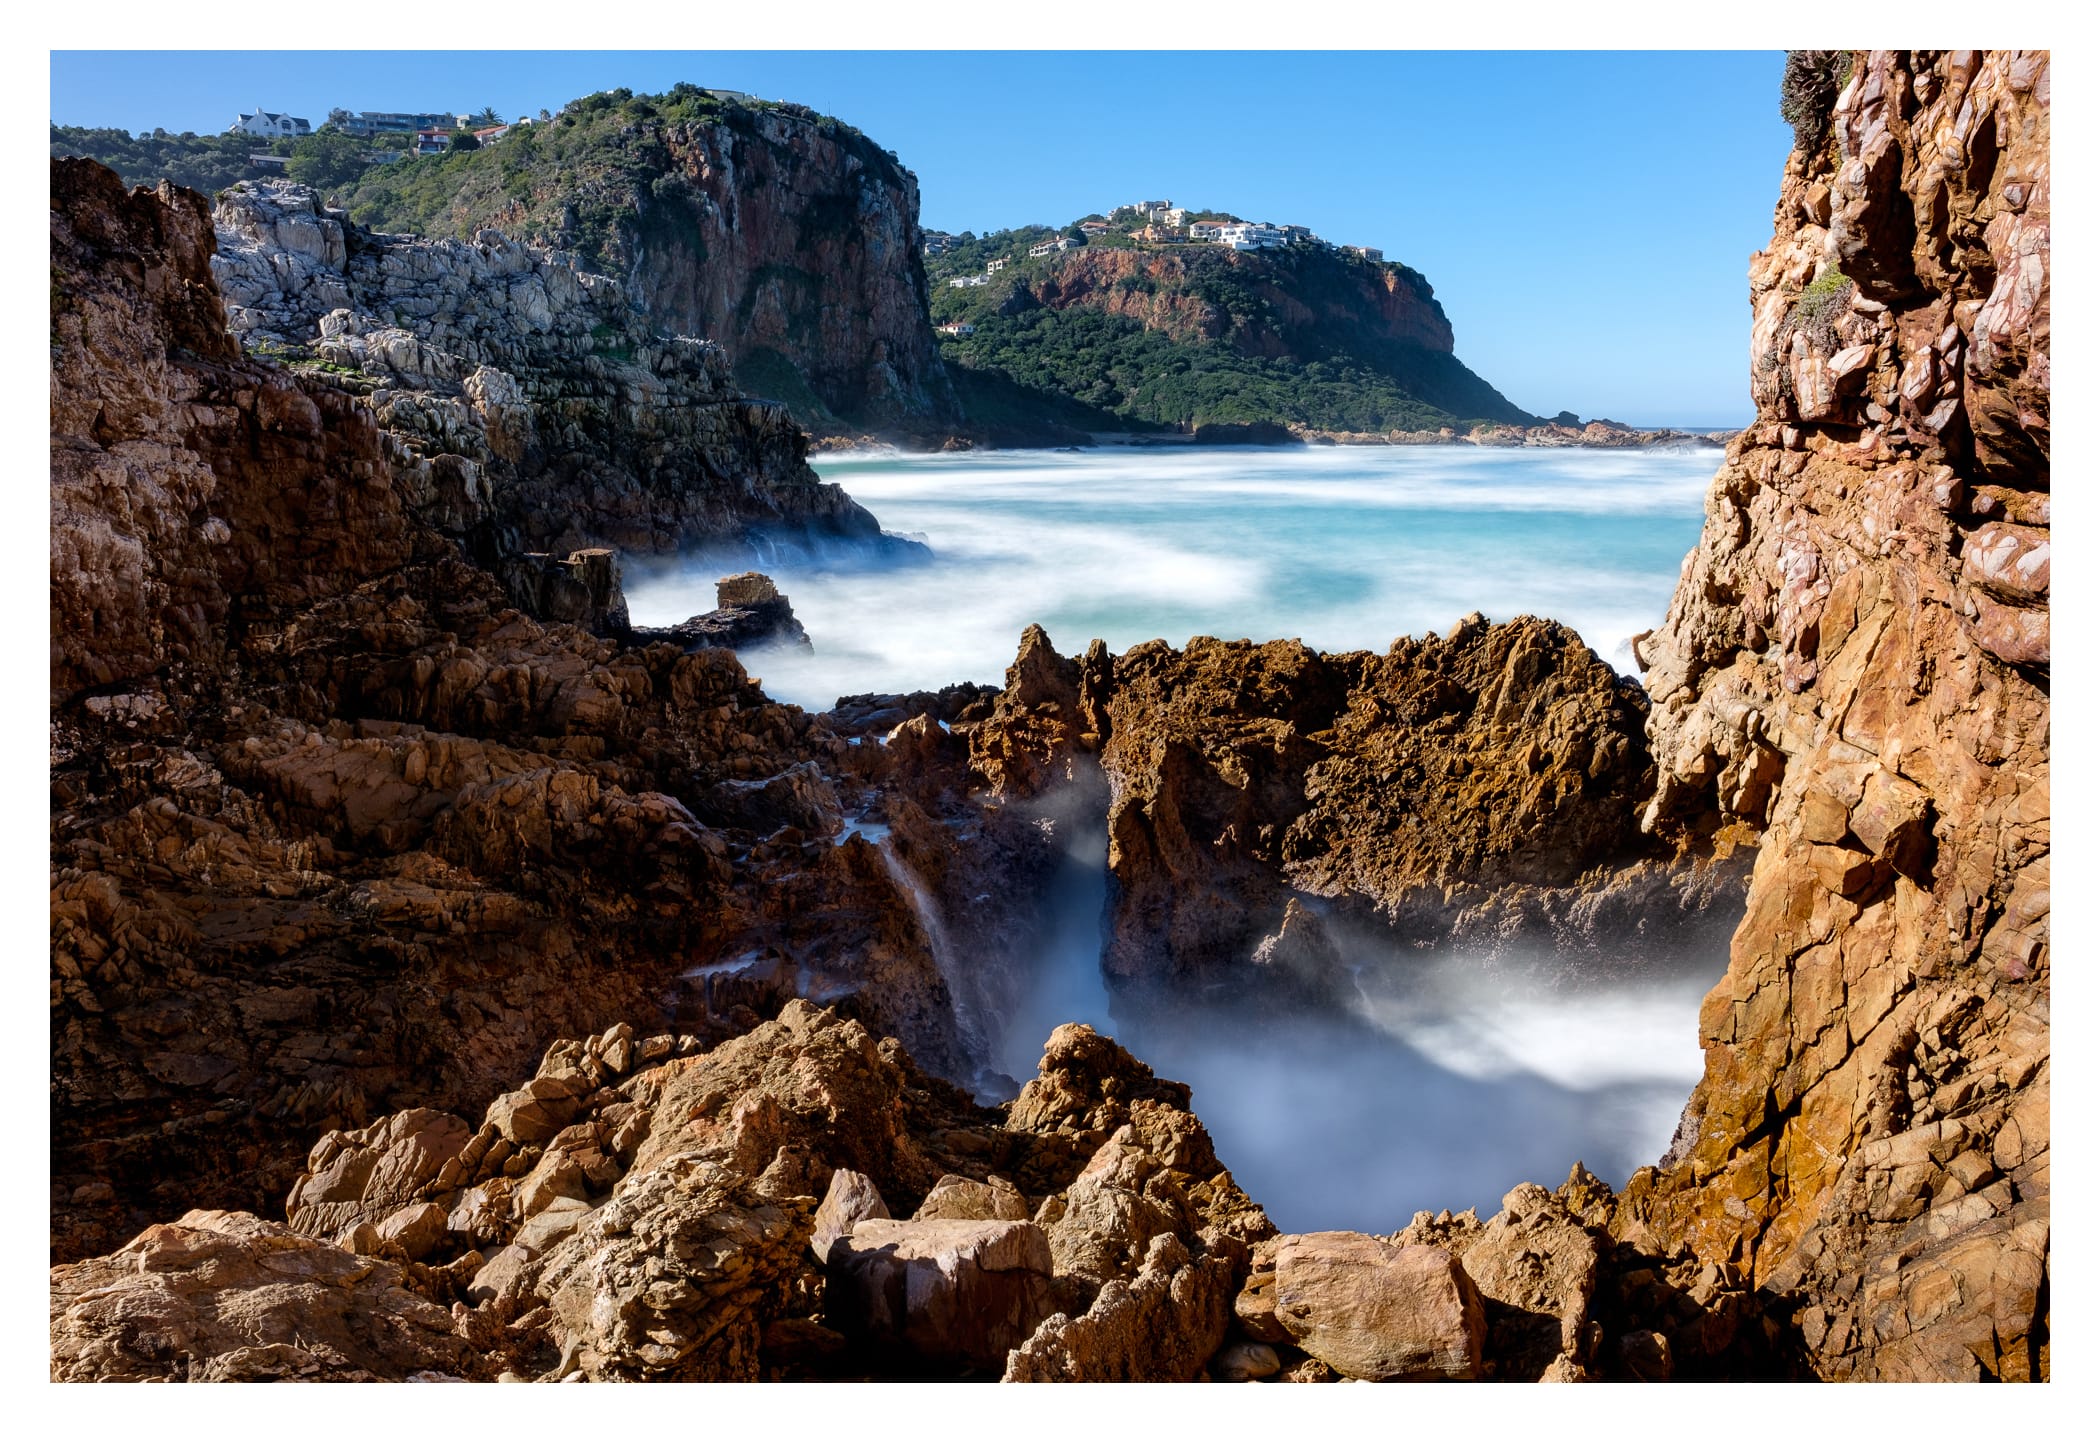
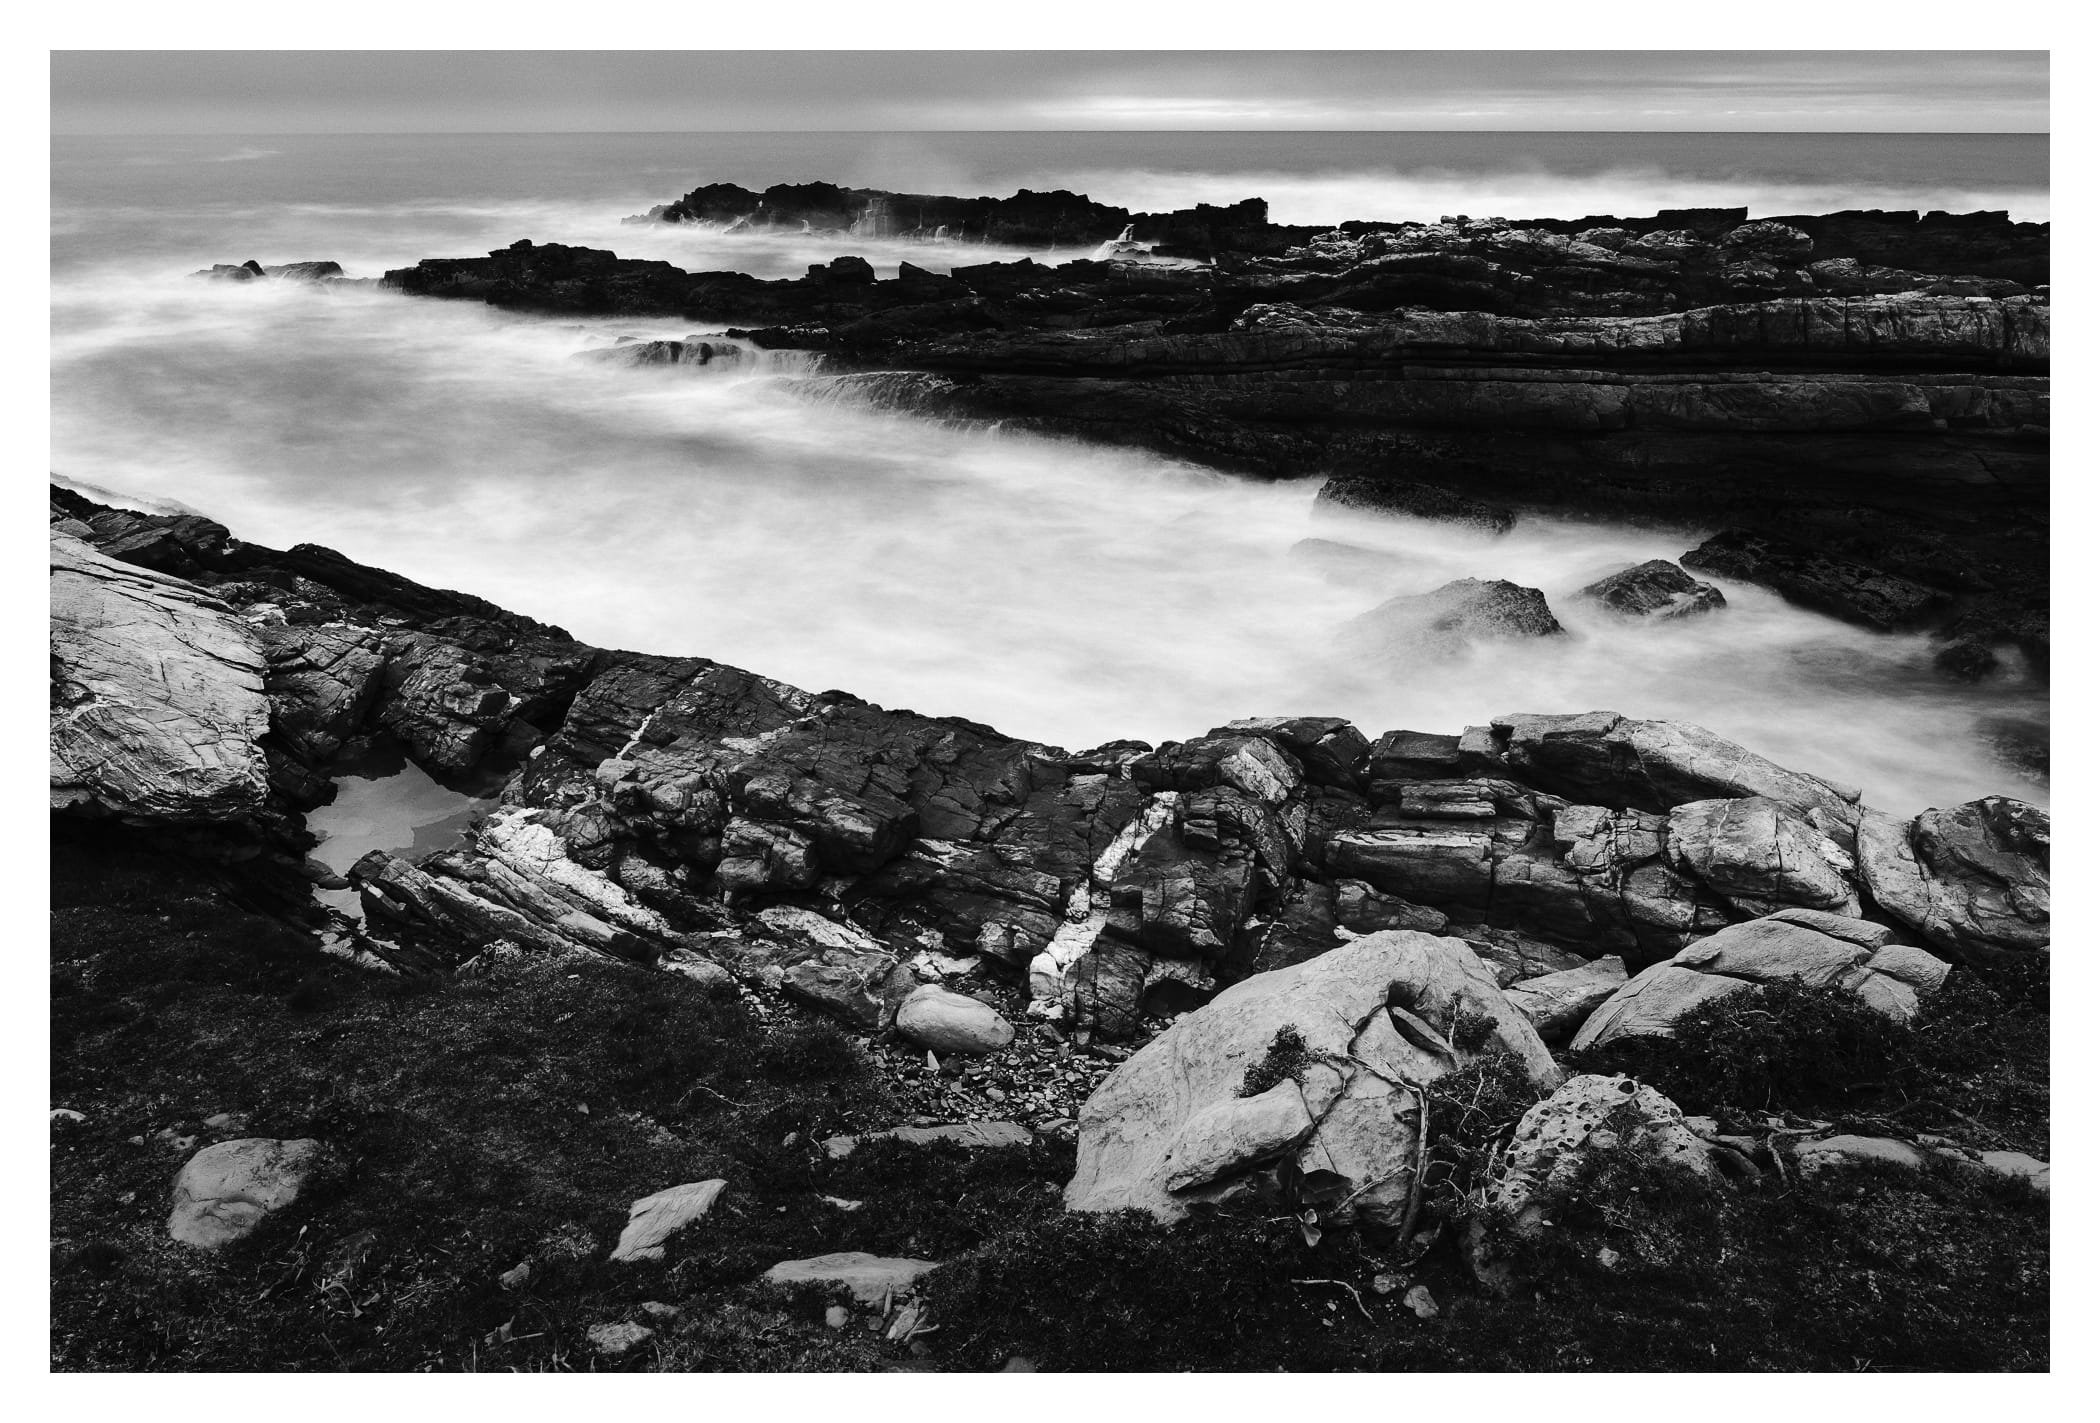
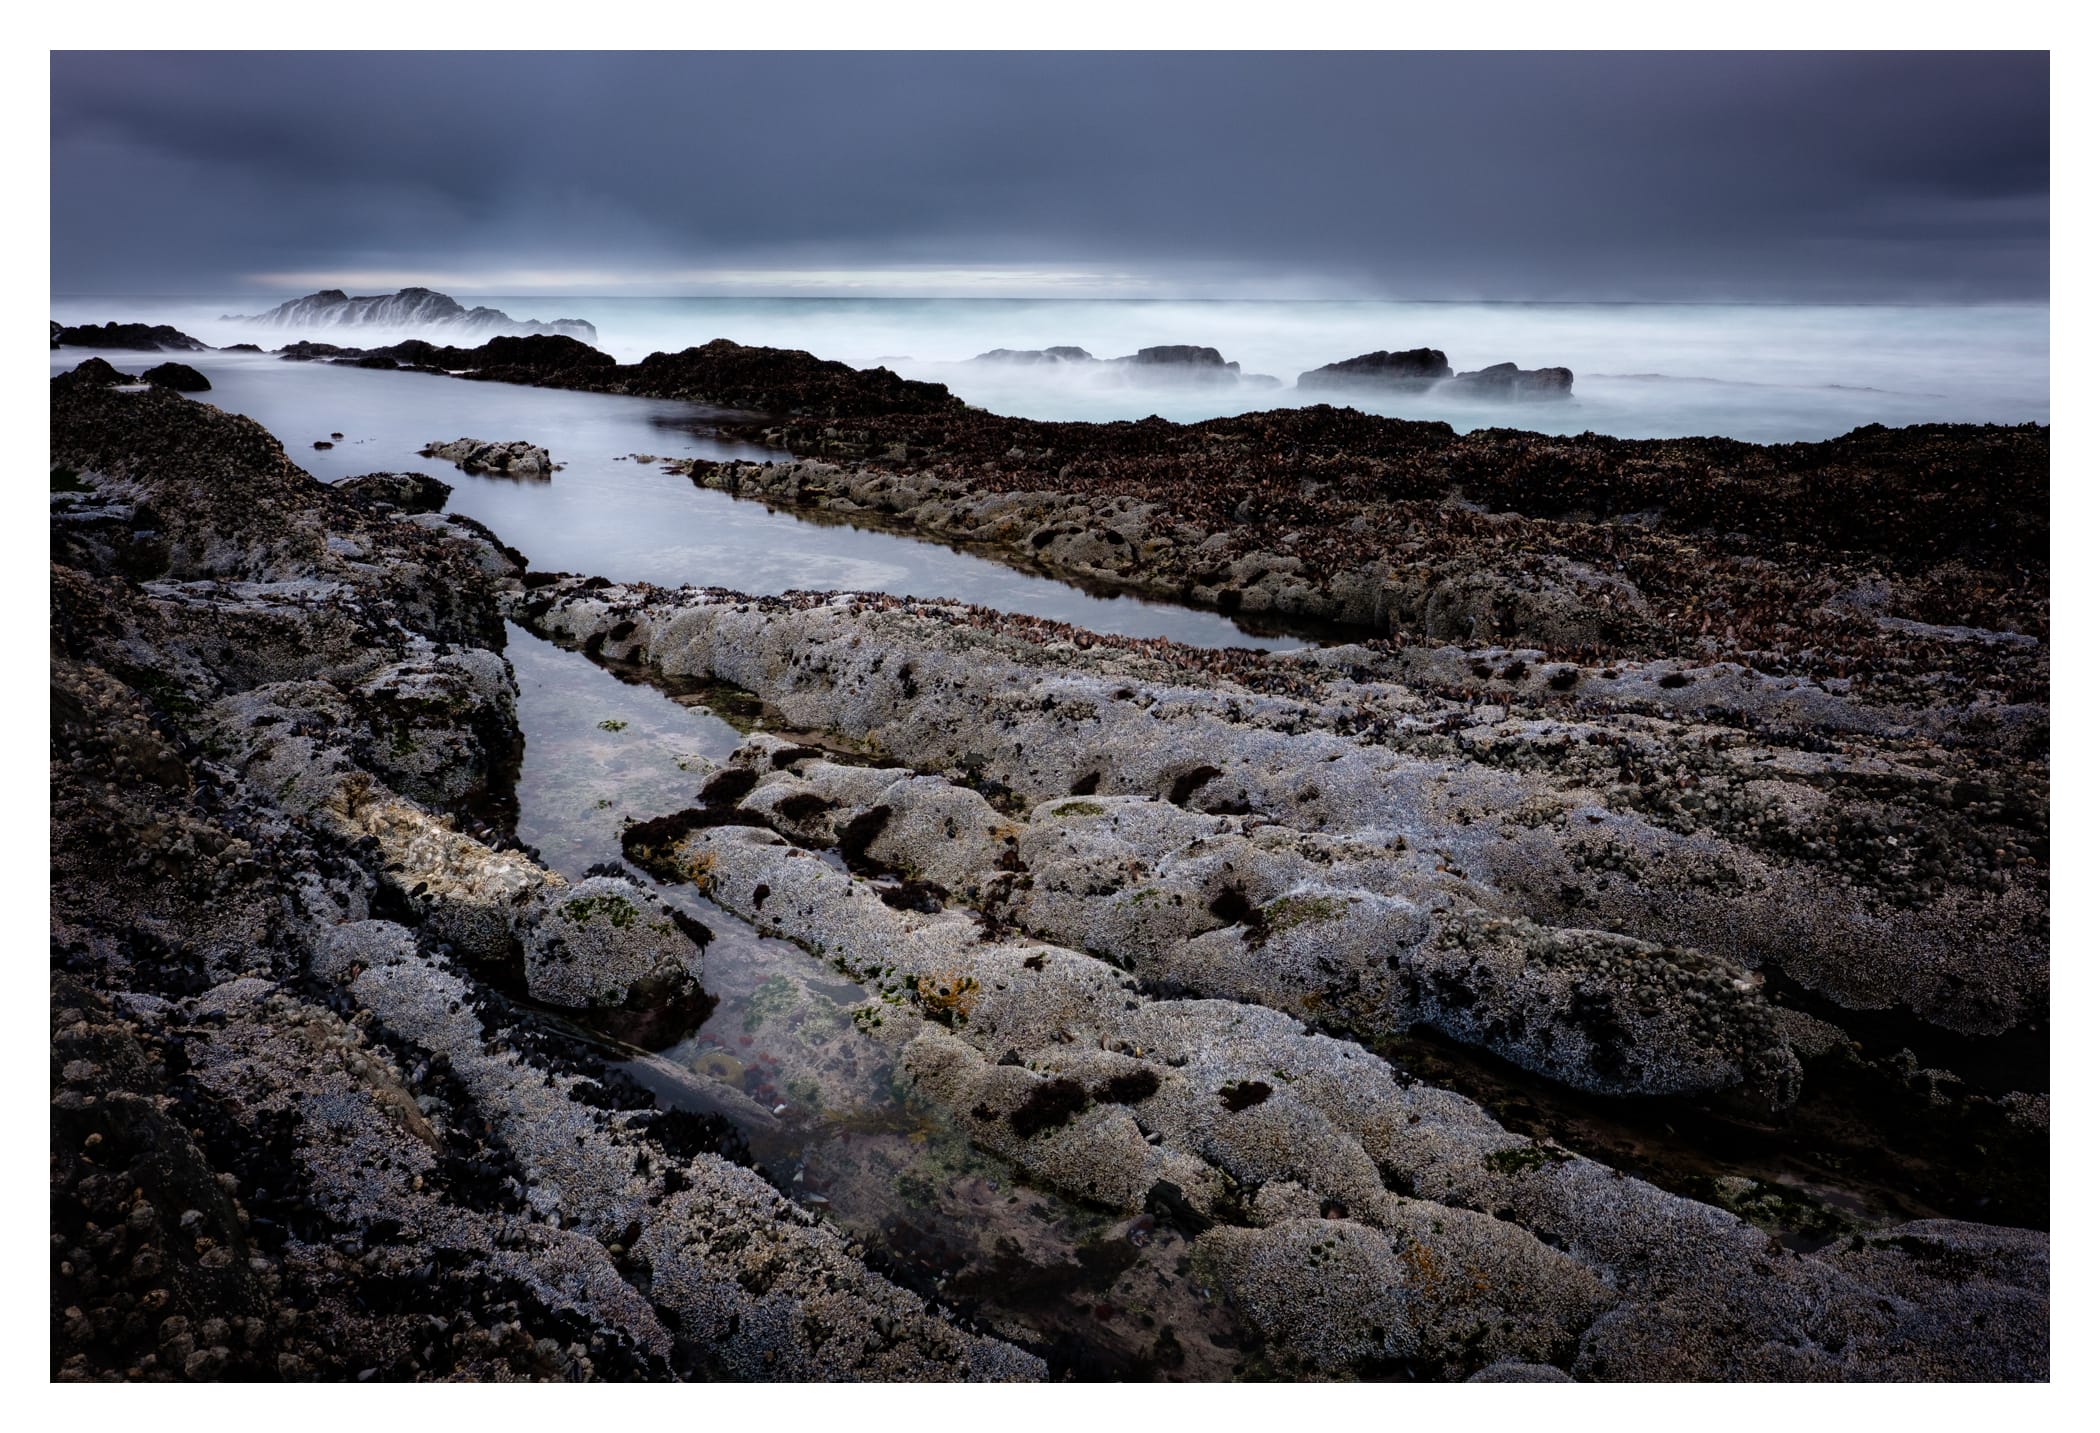
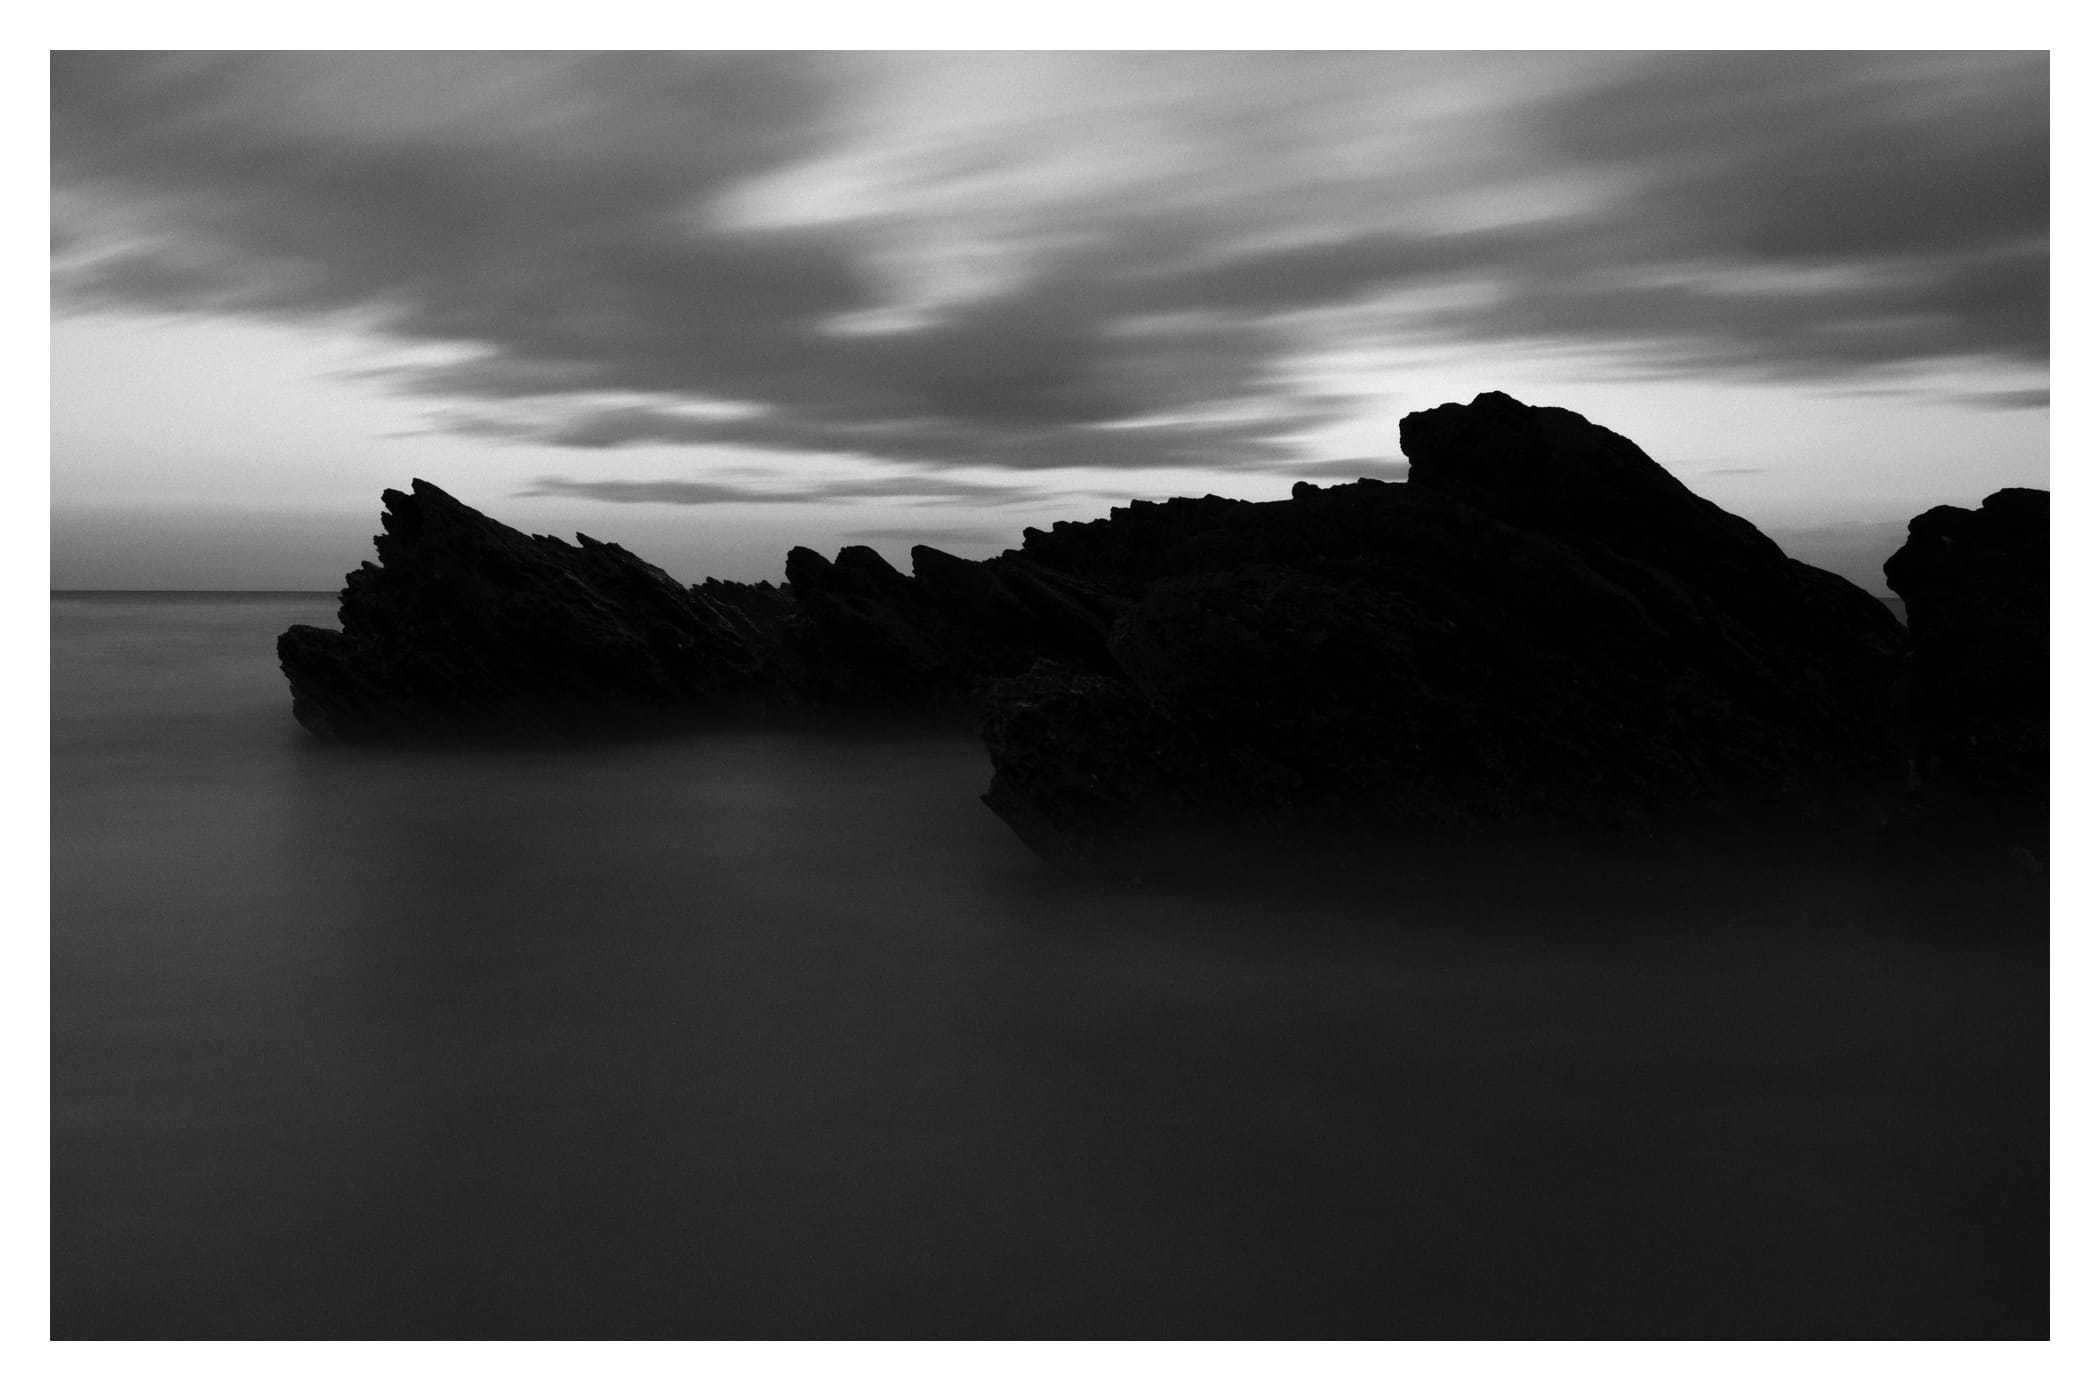
The XF 16-80mm F4 OIS WR is due to be announced anytime now. It’s poised to take over many a photographer’s travel lens needs, but having just finished another trip of fairly long distance hiking,1 what I’d like to see Fuji announce is is something even smaller, lighter, and ideally-suited for landscape photography. Something like this.

Focal Length: 14-40mm

My landscape sweet spot is in the neighbourhood of 24mm in 35mm equivalence, with 21mm typically being my max. That gives us 14mm on the wide end. My favourite focal length is around 50mm (35ish APS-C), so I had to be sure that was included. With a bit of breathing room, that brings us to 40mm. Plus, “14 to 40 F4” has a nice ring to it. Spoiler alert on the aperture there.

Maximum Aperture: Constant F4

For landscapes, I’m typically shooting between f/5.6 and f/11 so a Fuji lens closed down a stop should get me real close to maximum sharpness. Sure, I’d take f/2.8, but every extra stop means more size and weight, and I’m trying to be realistic with my desires. With a constant f/4 aperture, I’d be hoping for a lens about the size of the XF 18-55mm F2.8-4 OIS. Having the front element fixed on zoom would be a bonus, but probably unlikely at 40mm.

WR or GTFO

As readers of this site know, the lack of weather sealing on the XF 10-24mm F4 OIS is my biggest issue with the lens. If that lens had weather sealing—and performed a little better at 24mm—I’d feel much less inclined to even write this article.

In this photographer’s opinion, XF lenses should no longer be released without weather sealing. Thankfully, that’s been the case for some time now.

OIS: 5-stops

I want to use this lens on cameras in which Fuji’s current in-body image stabilization (IBIS) will not fit.

Size and Weight

This one’s important. Mockups of the XF 16-80mm F4 WR OIS from our friends at FujiRumors show it to be considerably smaller than the XF 16-55mm F2.8 WR, but also considerably larger than the XF 18-55mm F2.8-4 OIS. The former results in a camera + lens combination that stays in my bag more than I’d like it to. With proper cameras competing against smartphones for use, if they’re in a bag and your phone is in your pocket, it can be all too easy to just grab that travel snap with your phone, even though you might regret it later. As another old friend once wrote:

A camera in hand is 60% more likely to be used than one that's slung by its strap, 85% more likely than one in a shoulder bag, and 98% more likely than one in a backpack.

Bottom line, if my camera were small enough and light enough to be slug around my neck/shoulder all the time, it would be used more often.2

Close, but not quite.

There are some lenses that are close to my landscape nirvana, but every one of them comes with compromises.

  • XF 10-24mm F4 OIS: The size is getting close (especially given that front filter ring stays put when zooming), but the weather resistance is not. Its focal length is also wider than I’d like for a travel/landscape lens.
  • XF 16-55mm F2.8 WR: This lens would do it for me if it were smaller and lighter. And not just a little. As noted above, I want a camera and lens combination I can wear around my neck comfortably.
  • XF 18-55mm F2.8-4 OIS: Size, weight, OIS (even though it’s not quite enough stops worth), all great. Lack of weather sealing is a deal breaker, and I’d like something a little wider. I could even live with the variable aperture if everything else was right, but I’d rather not.

A Non-Standard Zoom

Now that Fuji have their core lineup of lenses pretty fleshed out, I want to see them move back to releasing lenses that are different, and well-suited to what X Series originally promised; superb, full-frame-rivalling image quality in a premium compact package. The exotics and ultra-fasts like the XF 200mm F/2 OIS WR and XF 33mm F1 are exciting, but they are big, heavy hunks of glass that are only mounted with purpose. They’re certainly not ever going to be my daily carry. Same goes for the “Red Badge” zooms. By most accounts, Fuji needed to get the “standard” zooms like the XF 16-55mm F/2.8 WR and XF 50-140mm F/2.8 OIS WR shipped. Perhaps now it’s time for something less standard.

I love what Fuji has done with primes recently with their F2WR3 lineup, and the XF 16-80mm F4 OIS WR is a step in the right direction, but weather resistant zooms could still use some slimming down. I admit I’m as guilty as the next photographer for wanting those pro zooms made available, but I think that has resulted in a zoom lens lineup that’s typical, and less interesting and differentiated than it could be.

  1. We put 15-22 KM per day on our feet every day of our last two trips. ↩︎
  2. I realize this at least partially comes down to my own discipline or lack thereof—how hard can it be to take a camera out of a bag, right? However, oftentimes we travel with others, and there’s a limit to how how many times we can slow down or flat out interrupt a walk or hike. It’s their vacation too, after all. ↩︎
  3. And a 2 point eight now. ↩︎

How I Packed For The Lake District

A Brief Personal Story

This summer has been an adventure. Back in May, we had booked a trip back to the Lake District for the beginning of September. Lakeland is probably our favourite place on earth. The density of glacially carved mountains and lakes, and village cafe and pub splendour is unmatched. After publishing my review of the X-H1, I got to work on my XH1 vs. X-T2 article. It was coming along great, and as a bit of a spoiler, I was excited to finally shoot in The Lakes with Fuji cameras,1 and eager to put the XF 16-55mm F/2.8 WR to work on a stabilized body.

But in early June, one of our 4 cats got sick. Real sick. My wife and I spent 11 weeks exhausting every possible resource and sparing no expense trying to nurse our beloved cat back to health. After multiple opinions, and even more trips to veterinarian services, we decided there was no choice but to cancel our trip, believing we would still be getting Charlie back on his feet.

Things didn’t pan out that way, and sadly, we had to let Charlie go on August 19, 2018.2

A few days later, my wife and I talked about what we would do with the vacation time we had already booked off work. No way we could go away, right? But then, what were we going to do otherwise, sit around at home? We decided to look into what was still available, and incredibly, everything we had previously booked still was, so we will be walking the fells of North West England in tribute to Charlie.

Back To Photography Stuff

Now, with all that time lost, I had to figure out what the hell to bring. It’s been a bit of a scramble the last couple of weeks, but given I leave today I’m settled on my photographic gear selection.

In the grip section of my X-H1 review, I noted that I wasn’t sure whether I wanted to deal with the heft of a gripped X-H1 and an L-plate, or stick to a body-only L-plate. As it turns out, I ended up getting both. The convenience of 3 batteries was too much turn down any time I wanted to use proper support, but I knew a gripped and plated X-H1 would be too big to travel with. Not only is it big and heavy, the size also has an affect on potential carry options.

Carry

The last time I was in the Lake District, I packed my Nikon gear in a newly acquired LowePro Photo Sport 200 AW→ after quite a bit of agonizing. I still love this bag. It’s crazy light, super adjustable, and has superb straps, both for your shoulders, and your waist. It is an excellent bag for hiking. Note that this is the first version of the bag. I have not yet tried the LowePro Photo Sport 200 AW II,→ but it looks like they haven’t fixed unbroken things.

Camera(s)

Based on the main camera compartment of that bag and my memory, the X-H1 with L-plate is fairly similar in size to the Nikon D700 I had in it before. It fits perfectly, where a gripped body would not.

I always thought when I traveled back to The Lake District, I’d bring something along the lines of my Invincible Landscaper kit. I’ll be bringing the lenses, but I won’t have a body dedicated to each. Instead, my second body will be an X-Pro2 with a weather sealed prime mounted for casual documentary shots.

Lenses

The X-H1 will mostly have the XF 16-55mm F2.8 WR mounted on it. The section below the main camera compartment in my bag is just large enough to hold an XF 50-140mm F2.8 WR without the tripod collar attached. It’s not ideal, but it seems about as sturdy to have the camera mounted on my tripod as it would be using the rather flex-prone tripod collar.

When I last took in these dramatic landscapes, I went wide with the Nikon 14-24mm f/2.8. This time around, 16mm on APS-C—24mm in 35mm equivalence—is the widest focal length I’ll have with me, and instead of going wider, I’m going much longer. This should open up my shooting possibilities a fair bit, but I’m wondering if I’ll miss the wide end.

Now, if this trip were happening a few months from now, there’s a very good chance I would repeat my focal length choice from last time with the XF 8-16mm F2.8 WR.

The XF 10-24mm F4 OIS sadly wasn’t even on the consideration list because weather sealing. If that lens came with those two magical initials, “W” and “R,” I’d be bringing that lens instead of the XF 16-55mm F2.8 WR along with a set of 72mm filters, rather than 77mm plus a step-up ring.

On my X-Pro2, it should come as no surprise that I’ll have the XF 35mm F2 WR mounted. I’m tossing around the idea of leaving the second body at home, but I really think I would regret it.

Support

I’m pretty shameless about going overboard on the support side of things. Luckily the tripod is one area that has gotten considerably smaller, and lighter. The TVC-23 and BH-40 I had for the full frame DSLR, protruded from my backpack a ridiculous amount. The TQC-14 I have now is much better suited for travel. I’ve thought about moving to the TFC-14 for travel for less weight, even more compactness, and to get closer to the ground, but the Quick Column is extremely convenient for quick (yes, quick) adjustments to height without having to reset 3 tripod legs and my composition. When it comes to getting low to the ground, I have one of Really Right Stuff’s Pocket Pods. And finally, when a tripod with won’t fit or isn’t allowed, I also have their Travel Clamp, which is proved to be remarkably versatile. Finally, I have a mobile phone clamp for capturing time lapses from fell tops and or while shooting long exposures.

Accessories

I’ve stepped the XF 50-140mm F2.8 WR up to 77mm via a Breakthrough Photography 72-77mm step-up ring so I can use a single set of 77mm filters—also from Breakthrough—for both Red Badge zooms. 3-stop, 6-stop, and 10-stop NDs as well as a Circular Polarizer are all in a tiny Tiffen filter case. They say it’s only for 58mm filters and smaller, but I get 77mm filters in there no problem.

The step-up ring means I need to go hoodless with the XF 50-140mm F2.8 WR, so I won’t be able to use it if the rain goes sideways. It’s a tradeoff I’m willing to make.

Hiking

One of the main reasons for our trip is to seriously get our hike on. For that, a good pair of boots, waterproof jacket, an accurate set of maps, and a compass are imperative. I’m new to Harvey “Superwalker” maps, but I already like them better than the OS maps I’ve used before. I find them so much clearer. For guided navigation, and to avoid the bother of a working smartphone, we use a Garmin Oregon 600, which has served us very well on trips to Europe in the past. We’ll see how it fairs on the minor roads in the Lakes.

The Whole Kit

Fujifilm

Really Right Stuff

Breakthrough Photography

Other

See you in a couple weeks.

  1. My last trip to The Lake District with DSLR bulk on my back was the impetus for wanting to downsize in the first place. ↩︎
  2. Charlie was our first pet together, and if I may, the best little cat you could imagine. He would come when called, speak when spoken to, and more often then not, if we were sitting, Charlie was sitting with us.

    90% if the content produced for this site was with Charlie on my lap for at least some of it. I’d say “Charlie, time for work.” and he would dutifully hop on and keep me company. He was an awesome cat, and we are still very sad to lose him at only 13 years of age. ↩︎

Favourite Lens By The Numbers

I brought a lot of gear with me on my last trip. I wondered which, if any lenses would have been better left at home. Looking at my catalogue, here’s how many selects were captured with each of the lenses I brought:

  • XF 10-24mm F4: 12
  • XF 16-55mm F2.8 WR: 68
  • XF 16mm F1.4 WR: 58
  • XF 35mm F2 WR: 236
  • XF 50-140mm F2.8 WR: 82
  • XF 100-400mm F4.5-5.6 WR: 105

Analysis

What follows is a brief analysis of each lens, as well as a small selection of images from each. Click for a larger view.

XF 10-24mm F4→

This is the lens I was closest to leaving behind, so I’m not surprised it’s the lens that came away with the fewest selects. Of those selects though, ¾ of them were captured at a focal length wider than any other lens I had with me. I suppose that’s sort of the point of having an ultra wide angle zoom, and I could have worked around not having it, but it’s interesting to me nonetheless.

If it was weather sealed,1 I would have brought only it, and left the XF16-55mm F2.8 WR behind. Let’s see if that would have been the right choice.

XF 16-55mm F2.8 WR→

41 of the 68 selects were within a couple millimetres of either widest or longest ends of the focal range, and of those, ¾ were zoomed in towards 55mm, suggesting my plan to leave it at home if the XF 10-24mm F4 was weather sealed would not have been a good one. Sure, I could have covered the 50mm mark with the XF 50-140mm F2.8 WR, but that’s a significantly larger lens, and one that I didn’t have much interest in hauling up to the top of Table Mountain, or hitting a family member in the face with in a small restaurant.

Is bringing an extra lens worth 68 decent photographs? I think so.

XF 16mm F1.4 WR→

Unfortunately, I didn’t get the opportunity to use the XF 16mm F1.4 WR for astrophotography nearly as much as I had hoped. Nighttime on the game reserve was not a time to wander off without an escort. I did get one starry image I’m happy with at The Fernery, a remote lodge along the Garden Route.

Otherwise, the f/1.4 aperture came in really handy in places like the Cango Caves, Featherbed Nature Reserve, and dimly-lit restaurants. I opted for the 16mm prime over the XF 16-55mm F2.8 WR when both were handy for landscapes as well. Such a great lens.

XF 35mm F2 WR→

No surprise here. With the X-T2 out, there will be little, if any reason for this lens to leave my X-Pro2. The overwhelming majority of my candid, documentary, and street photography was captured with the XF 35mm F2 WR. I even nabbed a couple landscape panos and long exposures by just holding my 77mm neutral density filter flush against the front of the lens.

This is the lens I thought was my favourite, and data shows I was correct.

XF 50-140mm F2.8 WR→

Only about ⅓ of my animal selects came from the XF 50-140mm F2.8 WR; 55 images or so. I would have expected a more even split, and I think if I were to visit another game reserve, I would spend more time in this focal range. I felt so compelled to get closer, but I would often realize and force myself to capture more of the environment. Closeups are great, but they can come from a zoo. Seeing animals in their natural habitat is what makes visiting game reserves so special.

The XF 50-140mm F2.8 WR also came in handy for the odd portrait of family members, and even some far away landscapes along the Garden Route.

XF 100-400mm F4.5-5.6 WR→

This, along with the XF 2X TC WR Teleconverter→ was essentially my animal lens. The reach it gets you compared to the XF 50-140mm F2.8 WR can’t be overstated, and for the most part, I was perfectly happy to take a hit on ISO because of the smaller aperture in favour of the extra reach.

Of the 105 selects with this lens, just 4 were not of animals. This is a lens that would have no business in my bag for just about any other travel, but am I ever glad I had it with me. I can’t believe I had considered not bringing it. I’d have been doing a lot more cropping. Again though, I probably spent a little bit too much time zoomed right in. 59 of the selects are at 400mm.

Hit Rate

My average select percentage for the XF 10-24mm F4, XF 16-55mm F2.8 WR, and XF 16mm F1.4 WR is in around 12-13%. The XF 35mm F2 WR was a bit higher at 18%, and the two telephoto zooms were comically low at just over 3% for the XF 50-140mm F2.8 WR, and barely over 2% for the XF 100-400mm F4.5-5.6 WR.

Now, this is calculated using total number of frames, and does not account for bracketing, panos, or the fact that I was popping off 8 frames per second fairly regularly with the telephoto lenses mounted. With more practice anticipating the moment, restraint and just being a little less excited, I bet my hit rate would be higher with the telephoto zooms. This isn’t to say that upwards of 85% of my photos are crap either—at least I hope not—but 1,913 Picks with around 500 images to share out of 9,900 from a two week trip with a big family seems alright. Getting through those bursts took a lot of time though, and isn’t something I’d want to do often. It has me exploring Photo Mechanic again2 as Lightroom is just so slow at times.

Conclusion

For the most part, I feel pretty good about my gear choices. Looking at the selection of photos above, and excluding animals, I’m happiest with images from the primes. I probably should have left the XF10-24mm F4 at home, and likely will do next time I travel. 24mm is about as wide as I like going for the most part, and the XF 16mm F1.4 WR is just awesome.

My typical travel camera and lens setup going forward will likely be and X-Pro2 with the XF 35mm F2 WR permanently affixed, and an X-T2 with XF 16mm F1.4 WR and XF 90mm F2 WR.

Have a look at your own numbers. What lens do you find yourself gravitating towards? Is it actually the lens you get the highest “hit rate” from? Or are you constantly cropping to get to the composition you want? Your catalogue of photos is full of data you can learn from. See if your assumptions are correct.

  1. Have I said that too much? ↩︎
  2. But that interface, yikes. ↩︎

What I Learned on Safari

While I was posting a 3 part series of prepping for South Africa, I knew I’d be writing a follow up post about what I got right, and what I got wrong.

Here’s what I learned after three days, five game drives, a couple of nature walks, and many hours posted up in a “hide” near the watering hole while on “Safari” in Honeyguide’s Mantobeni Tented Safari Camp.1

Learning Curve

A lot of what follows only occurred to me after a couple sessions of shooting. In truth, before getting my XF 50-140mm F2.8 WR, the longest focal length I had used with any regularity was an 85mm on APS-C. I mostly use the XF 50-140mm F2.8 WR in a studio setting, so outside of practicing in my backyard on squirrels and birds as much as possible, shooting with lenses this long was a fairly new experience. Even the act of finding an animal you’ve seen with your eyes through a viewfinder at 200mm or higher can be tricky. In my limited time out in the bush, I got quite a bit better at it, but by no means am I proficient. I would need much more experience. You gotta start somewhere though, and the point is, if you’ve never done this kind of shooting before, get as much practice as possible, and expect a learning curve of your own.

Camera Bodies

The X-Pro2 faired well on the drives, and I could feel the performance boost it offers over previous bodies, but the X-T1 outclassed it in terms of operational capabilities. The tilt screen came in really handy at times when I wanted to rest the XF 100-400mm F4.5-5.6 WR on my Safari Sack beanbag,→ which in turn was rested on an armrest at thigh height as I was seated. Often animals were relatively still, and I wanted to lock focus on them, glance down at the tilted LCD on occasion, and otherwise watch the animals “IRL” so to speak, and burst 8 frames per second when I caught or anticipated a good expression from the animal. This is another thing that takes practice, lest you find yourself with dozens or even hundreds of frames to wade through in post, like I did.

Two X-T2’s would have been the best of both camera worlds in this situation, and would be my ideal body configuration, were I to visit another game park in the near future. I really wish that camera had been available before I left.

I opted for the battery grip on the X-T1, and would do with X-T2s as well. Not only was the grip convenient from a handling perspective, the extra battery gave me confidence I wouldn’t run out of power on a drive. As it turns out, I was overly cautious here.

Lenses

On my first drive, I brought my X-T1 with vertical grip and XF 100-400mm F4.5-5.6 WR attached, and my X-Pro2 with XF 16-55mm F2.8 WR attached. I figured this would be the right balance of coverage for my first time out to assess future drives.

What I found was the standard zoom was of almost no value, despite our driver getting us remarkably close to the animals. I don’t think I took a single frame with it that wasn’t zoomed in towards the top end of its focal range. Since that is covered by the XF 50-140mm F2.8 WR, I knew I’d be swapping the standard zoom for it on the next drive.

I didn’t even think about changing lenses during my game drives. I would have just been asking for a ton of dust on my sensor. I would recommend against lens changes.

Teleconverter

Given I had considered not even bringing the XF 100-400mm F4.5-5.6 WR, I decided to do the first drive without the 2× teleconverter. Reports indicate there is at least a bit of an optical penalty with the 2× teleconverter, and I’ve noticed that as well,2 but on our first drive, we were lucky enough to catch a pair of leopard cubs that I really wanted to get closer to.

From that drive on, my camera setup was the X-T1 with 2× teleconverter and XF 100-400mm F4.5-5.6 WR, and the X-Pro2 with XF 50-140mm F2.8 WR.

Batteries

If you’re judicious about turning your camera off when not in use, one battery per camera should get you through a 3 hour game drive just fine. I have no idea if that’s a standard duration, but the time of the drives seemed to work for capturing animals when they were active, and the best light of the day. After a drive, I’d get two batteries charging in this Watson Duo Battery Charger,→3 which I highly recommend. It’s a little bigger than I’d like, and I brought two Fuji chargers as backup, but it worked flawlessly, showed me how much charge my batteries had, and charged them up really quickly. You can even buy replacement plates for it and charge, say, an X-Pro2 and X100T battery at the same time. I travelled with a total of seven batteries, but I could have done the trip quite easily with five.

Accessories

All those beanbag recommendations you’ve read are spot on. I bought a Safari Sack before I left, and it was indispensable.

My Really Right Stuff Safari Clamp saw some use on the drives, especially during the time I needed to get higher than the beanbag would allow, and holding a camera with the XF 100-400mm F4.5-5.6 WR attached would get tiring. It turned out to be more useful at other times, like when my tripod was temporarily confiscated before getting on the boat to Robben Island. I would have been really bummed if I wasn’t able to capture a pano of Cape Town from the island, and there were plenty of railings near the water for me to clamp onto.

Cape Town and Table Mountain as seen from Robben Island

I was looking into a monopod as Thom Hogan suggests before my trip, but truthfully, I can’t think of a time when it would have worked much better than what I had, and it probably would have got in the way. Perhaps I could have extended it fully with it planted on the ground and hung out the side of the vehicle a bit more, but often things happened so fast there was barely time to “set up.” I was tossing my beanbag from one place to another, and at times forgoing it altogether to snap a frame before more active animals moved again. Plus, we were to remain seated during the drives, as the vehicle changing shape can (allegedly) alert the animals, and we had a canopy over us anyhow; two good reasons not to stand during the drive. In other parks, it seems you stand up, and in those instances, a monopod might be just the ticket. Depending on where I go, I may have one by the time I head back to Africa.

The repacement EC-XT-L Eye Cup→ for the X-T1 helped a lot in the bright sun. This isn’t something X-T2 users need to be concerned about, but if you are bringing an X-T1 or two, I would highly recommend buying a couple of these.

Other

As mentioned, you’d be nuts to have your sensor exposed during a game drive, but when we stopped for our mid-drive coffee/wine break, I would have been totally fine with a non-dust-resistant camera like an X70. I ended up using my iPhone for this, which was fine, but it’s not the same. I’m still not sure it would be worth hauling a second set of batteries/chargers, but worth considering. If a camera is in your bag, it won’t get affected by the elements.

Wishlist

I’d love for Fuji to release a 300mm or 400mm f/2.8 or faster WR lens that matches the optical quality of the XF 90mm F2 WR. The XF 100-400mm F4.5-5.6 WR is a superbly versatile lens, and is optically decent, but a fast prime would allow for lower ISOs on top of presumably being much sharper.

Closing

Apart from wanting a faster, sharper exotic lens and wishing the X-T2 had been released a little bit earlier, I don’t feel as though I was let down by my equipment in any way while on Safari. It was my own technique, and luck of the animal draw that had the biggest impact on my photographs. I may write a subsequent post detailing my learnings from such a big trip overall; what gear I used most, what, if anything, could I have left behind, etc.

As for the Safari experience itself, it was absolutely incredible, and something you really should try to do at least once if you have the means. Africa wasn’t even on our radar as a travel destination before this opportunity presented itself, and we couldn’t be happier it did. I don’t have a particularly large frame of reference, but family members who have been to a variety of game parks agreed that Honeyguide are a fantastic company. If you happen to visit, Fanuel is an extraordinary driver who will do absolutely everything he can to get you close to the animals in a way that still respects their wellbeing.

About the Image

X-T1 + XF 100-400mm F4.5-5.6 WR at 280mm
XF 2× TC
1/500 sec. at f/5.2, ISO 500

I chose this image of a female from a series of images because this one appears particularly wise; a fitting trait for a post about learnings. We were able to get incredibly close to about 5 female lions who were all mostly lounging around. This profile is from when one raised her head to give us a smell.

I started with a RAF in this case, despite working with a pre-X-Trans III. Sharpness wasn’t my primary goal here, and I wanted as much information as possible to run the image through Silver Efex Pro.4 I’m quite pleased with the result.

  1. Footnote review: You can’t go wrong with Honeyguide Tented Safari Camps. The lodgings were fantastic, the food sublime, and the animals plentiful. During our stay, trucks saw “the big five” in a single outing multiple times. Your mileage will vary, of course, but we were pretty fortunate, and I hope to return to that park one day. ↩︎
  2. Where I’m seeing it worst in reviewing my images is when focused at infinity on objects that are very far away, perhaps a kilometre or more. Closer subjects appear to be rendered sharper, but I’ll report back after further review. ↩︎
  3. Another product I plan to do a review on, but what I’ll say now is if you have an X100 or X70 along with your interchangeable lens Fuji camera, you can just buy a set of NP-95 plates along with the WP-126 Duo charger, and you’re good to go. I even had one of each batter charging ok in mine. Great stuff. ↩︎
  4. Still sad Google bought and abandoned the Nik Collection of software, but at least it’s free for as long as it runs. ↩︎

How I Packed for South Africa

Note: This post has been written over the course of a week, and partially during my trip with spotty access to WiFi, so it is not as clear or concise as I’d like.

I thought I was way ahead of the game, and that I’d have lots of time to get a few more prepping posts online, but busy times at work and in life resulted in my trip sneaking up on me.

As I sit in Schiphol airport waiting to connect to Johannesburg, I’m left with nothing but time to reflect and write about how things turned out. There’s been some pretty big shifts in my packing strategy since I last wrote about it, so I’ll try to do a decent summary.

Think Tank Airport Essentials

My Think Tank Airport Essentials arrived a few weeks ago. This bag has supplanted my Incase “DSLR” Pro Pack as my daily backpack for carrying my work essentials and some camera gear to work and home every day. I love it.

Unfortunately, despite my best efforts, there was no hope it was going to be enough bag for my entire trip, largely due to the longer telephoto lenses I felt obligated to bring. The amount of stuff I can get in this bag is incredible, and without those zooms,1 I could easily get two weeks of travel out of the Airport Essentials.

Baggage Claim

I sort of felt like I was failing here, but my wife and I resigned ourselves to having to check a bag each this time around.2 The varied South African climate we expect to face combined with family events we have planned means we need a lot more clothes than we’d typically pack.

Given the unique nature of this travel experience, and that we shouldn’t need to worry too much about moving our bags around,3 it makes sense to optimize for more gear, and that means another bag.

Briggs and Riley

As much as I wanted to tell myself that my Osprey Farpoint 55 S/M would be the last bag I ever needed, there is sure to be other travel occasions where carry-on-only will be less than ideal. Patagonia and New Zealand spring to mind. So I started looking into what an optimal piece if luggage would be. I wanted to stick to carry-on size regardless for when I might travel with just a carry-on, and a backpack wouldn’t work. The Wirecutter has a pretty great breakdown of carry-on luggage. They pick the Travelpro Platinum Magna2 22" bag,→ but in my local currency, their “upgrade,” the Briggs and Riley Baseline International,→ is about the same price, making it the sensible purchase.

I might do up a more in-depth review of this bag as it relates to travel/adventure photography one of these days, but having packed and unpacked it a number of times already, I can say the quality is excellent, and the compression system is everything it’s made out to be.

Back to Camera Stuff

With my Think Tank bag freed from having to accommodate clothing, I found myself with much more space available for gear. I decided to give myself permission to really gear up for this trip. That means both the XF 50-140mm F2.8 WR and XF 100-400mm F4.5-5.6 WR have come with me, along with the 2× teleconverter to get me as close as Fujily possible to the indigenous fauna. Since I had the space, I decided to chuck the XF 10-24mm f/4 in for good wide measure.

It’s Heavy

My camera gear selection is as follows:

Bodies

Lenses

Support

Other

I haven’t carried this much photographic equipment since the first time I travelled with my D300, when I though it was a good idea to bring everything I owned.4 For such a big trip that has so many different photographic opportunities, it made sense to err on the side of too much, rather than too little.

Perhaps I could have gotten away with leaving the XF 16-55mm f/2.8 WR or XF 10-24mm f/4 at home, but I have used both already, and you’ll note that one lonely lens is missing those two magical initials, “WR.”

My South African family has let me know that, despite the current drought, Cape Town can be quite rainy. This is a place I’m going to want to do some landscape photos. Sure I could get by with my XF 16mm f/1.4 WR, but if I can get myself the flexibility of a zoom lens, I figure I might as well. And that way, if we do find ourselves in heavy rain, I can keep lenses on bodies and not worry about having to change them. Once again, that lack of WR on the XF 10-24mm f/4 is hurting me. Had the 10-24mm been weather sealed, I would have only brought it and not the 16-55mm.

Had I been packing “normally,” three of those lenses and the teleconverter wouldn’t have even seen my bag, but there’s a good chance I won’t be back to South Africa for quite some time, if ever, and since we’re being driven around, I have the luxury of leaving what I don’t need in my hotel room, or on the bus. More often than not, I’m carrying my Billingham Hadley Small.

Additionally, if this was exclusively a “Safari” vacation, at least two lenses could be left out, and maybe even the tripod, depending on the camp.

Straps

I decided to keep my green Artisan & Artist strap on my X-Pro2, and affixed the replacement Loop 3 the guys at LumaLabs were kind enough to send after my first one frayed. The Loop is a strap I typically only use during extended periods of shooting like on vacation—for which it is outstanding—so this is a perfect opportunity to double check the strap durability. I’ll update the review post, but so far so good.

Memory Cards

Lexar is sorta scummy when it comes to the transfer speeds they list on their cards. They like to list a really fast read speed, which, when it comes to continuous shooting, is much less important. The write speeds are always much slower until you get up to their 2,000× cards, which are twice as expensive as their 1,000× cards.

Sandisk, on the other hand, has much closer figures for both read and write. The Extreme PRO cards→ that I went with have a listed read speed of 95 MB/s, and a write speed of 90 MB/s. I’ve hit the ceiling on the write speed quite a few times, but not enough for me to worry about spending the money for faster cards, and I've been perfectly content to just switch cameras for a different perspective while the buffer clears on the other. I went for 64GB cards, six in total along with a bunch of older, slower 32GB cards as backup. I seriously doubt I’ll touch those though.

Clothing

Your attire can often be almost as important as what camera you have. If you’re not comfortable due to the elements, sore feet, or an aching back, you’re much less likely to want to shoot. Quality footwear, and clothing that can keep you comfortable in a broad range of climates are invaluable. My wife and I have a bunch of merino wool clothing, largely from Icebreaker (although I would avoid their T-shirts which a very prone to developing holes),→ which has kept us warm in the frigid winter mornings without getting too hot too fast after the sun comes up.

Another major advantage of merino is it can be worn for days without smelling. This might not sound appealing from a hygiene perspective, but it’s been really nice pulling on a pair of pants or a hoody after sitting around a fire without it reeking of smoke.

In Closing

Well, this post has been in a constant state of revision, from past to present tense, before using any of my equipment to being done nearly all our game drives. I’ll be sure to write more about what I learned from my first safari experience. I hope it won’t be my last.

  1. Under almost all other circumstances, the XF 90mm f/2 WR is the longest, in terms of focal length and physical dimensions, I would typically bring when travelling. ↩︎
  2. A couple years ago, I bought an Osprey Farpoint 55 to use as my only carry-on luggage. This worked great, and I was so happy to not have a wheeled bag to drag behind me over cobblestones in Europe. The key difference there is my X-T1 and XF 10-24mm f/4 was the largest camera combination I had.

    I considered employing the same strategy this time around, but adding in the potential of two large zooms means my camera bag would have consumed almost the entire capacity of the Osprey, making it impossible. ↩︎

  3. We’ve hired a bus to move all 26 of us from place to place. ↩︎
  4. It’s not. Photography kit selection is like design, make it as simple as possible, and no simpler. ↩︎

Prepping for South Africa, Part 2

The response to my Prepping for South Africa post has been incredible. No other blog post on Fuji vs. Fuji has generated so much thoughtful feedback so quickly. I really appreciate it all, and as I catch up on my email, I am seriously rethinking my gear selection yet again. Here’s the latest.

XF 100-400mm

Well, readers are decidedly in favour of me bringing the XF 100-400mm. Tweets, Facebook Messages and emails all say bring it. This prompted me to do a bit of my own reading about the lens, which lead me to this fantastic piece by Daniel J. Cox about mirrorless telephoto zooms. Fuji has an awfully impressive showing.

I certainly won’t mind the chance to do a little testing of my own with a lens like this, but I want to do what’s best for the trip, first and foremost. So, the current plan is to see how things fit once my Airport Essentials arrives. That should help determine just how many zoom lenses I’m going to bring.

XF 50-140mm

Now of course I’m asking myself if I really need the XF 50-140mm f/2.8. In some ways, it could be indispensable. The faster aperture might do wonders during dawn and dusk game park drives. But it’s another big telephoto lens with at least some overlap (depending on which teleconverters I have mounted) to haul around.

It could also necessitate yet another body thanks to…

The Wide Angle

Given how close we could get, there’s no way I can go on a game drive with 50mm being my widest focal length.

Readers also reaffirmed what my research indicates, dust will be a real problem when driving along the dirt roads in the game park, so lens changes are almost certainly going to be impossible. That got me thinking about a lens I don’t think about very often, the XF 16-55mm f/2.8.

One of my big summer comparisons is going to be this lens pitted against primes in its range, but it might just be the perfect companion to one of, if not both of the big zooms. Standard focal range, weather and dust resistant, 77mm filter thread. Suddenly a lens I wasn’t even looking at before is in the running. This trip could be an all red badge affair.

Minimal or Maximal

In truth, when I bought the XF 16-55mm f/2.8, it was with the intention of using it almost exclusively as a travel lens. Visions of trudging through the rainy lakes, dales, and moors of England came to mind. My sole reason for not considering it at first was my desire to travel with as little gear as possible. I wanted to minimize.

I’m now in danger of bringing way more gear than I was hoping. Here are some contending options:

Original Kit

Bodies: X-Pro2, X-T1
Lenses: XF 16mm f/1.4 WR*, XF 35mm f/2 WR, XF 50-140mm f/2.8*

Minimal Zoom Kit

Bodies: X-Pro2, X-T1
Lenses: XF 16mm f/1.4 WR, XF 16-55mm f/2.8*, XF 100-400mm*

I would have a really hard time leaving the XF 35mm f/2 WR behind, and probably won’t, but it’s covered by the XF 16-55mm f/2.8.

Maximal Zoom or “All The Things” Kit

Bodies: X-Pro2, X-T1, another X-T1 or X70/X100T
Lenses: XF 16mm f/1.4 WR, XF 16-55mm f/2.8*, XF 35mm f/2 WR XF 50-140mm f/2.8* XF 100-400mm*

*Denotes gear I’ll bring on the game drives.

Ugh. I really don’t want to have to do this, but if I had both the telephotos along, I feel I would almost have to bring a third body of some kind along to cover the wide end.

Going X70 has the added benefit of my wife having an “adorable little Fuji” at her disposal, but there could be a risk of dust contamination during the game drives, and it means another set of charger/batteries to bring.

Going with a third interchangeable body means I have to actually get a third, weather sealed body. That presents its own set of issues (WAF, space in the bag, batteries, WAF, etc.)

Thanks!

Thanks again so much to everyone who wrote, tweeted and messaged me their feedback. It’s been immensely helpful, and I’ll be sure to post more as I continue to sort this out. I’m hyper aware that this is an awesome problem to have, but the struggle is real, and it continues. More to come.

Prepping for South Africa

As my Twitter followers might know, I’m getting ready for a pretty big trip to South Africa, where I’m fortunate enough to be going on a Safari.1

I’m incredibly excited to have this fantastic photographic opportunity ahead of me, but it has thrown a wrench into my usual travel/packing strategies, in addition to making a couple photographic purchases necessary. I thought it might be of interest to do a bit of a travel diary, which has already been of some help to the process. This post has already been revised a few times as my packing strategies change.

Support

As ever, it’s important to start with a solid foundation. Game reserves present a unique challenge when it comes to keeping your camera steady. Most of what I’ve learned on the topic is from (re-)reading this piece from Thom Hogan, and another more recent piece. A key problem to solve is how to support your camera when you’re in the vehicle. I opted for Really Right Stuff’s new Travel Clamp Kit to affix to the rails of a vehicle like so:

Really Right Stuff’s Travel Clamp Kit with removable Flat Surface Adapters

Really Right Stuff’s Travel Clamp Kit with removable Flat Surface Adapters

It’s a pretty solid piece of equipment and isn’t having any trouble holding my camera steady. I’ll do more of a write-up on this item after my trip.

Thom also advises a monopod, which I considered, but there’s a limit to how much I want to bring when it comes to support, and since I also plan to bring a compact tripod and pocket-sized tripod→ as well. It’s always a balance between wanting to travel with as little as possible while still making sure I have what I need. The game reserve will only take up a few days of our trip after all.

Camera Bodies

Interchangeable

Had this trip occurred last year, I would have been perfectly happy to buy a second X-T1 keep my XF 50-140mm f/2.8 glued on one of them (probably with an XF 1.4x Teleconverter attached), and a wide angle lens on the other.

The X-Pro2 presents a bit of a wrinkle. I know I’m going to be constantly juggling whether or not to make the most of my available megapixels, or using the tilt screen of the X-T1. A second X-Pro2 is always a possibility, but I really think I’d notice the lack of a tilt screen when the camera is attached lower than eye level. If only there was a camera that provided the best of both worlds…

Anyhow, I've all but settled on bringing both the X-Pro2 and X-T1. The X-Pro2 is the camera I want with my all the time, and the X-T1 will end up being my “Safari camera.”

Fixed

I was all set to leave the fixed focal length X100 at home for this trip. The X-Pro2 has resulted in my X100T sitting dormant for the last few months. Then my wife saw the X70 and is seriously considering that as being her camera for the trip as opposed to her iPhone.

I think I’ll try to talk her out of it actually as bringing a fixed focal camera results in a whole second set of batteries and chargers to contend with that might not be worth the hassle.

Lenses

Another wrinkle, the XF 100-400mm. Thom writes:

In the Serengeti and other parks where you can’t leave the road, you tend to need longer lenses than in the places where you can (e.g. the private reserves in South Africa). I’m going to assume that you’re not going to one of the latter places, as the lens needs there are far less extreme and easier to meet. We’re going to assume the worst case here...

... Thus, we need flexibility and reach. Flexibility means a zoom lens; reach means pixel density.

As it happens, I am going to a private reserve in South Africa, so I was really struggling with whether or not I’m even going to need a lens with as much reach as the XF 100-400mm. That’s a lot of extra lens to pack for me (more on that in a minute) and it has other implications as it relates to things like filters (more on that in a minute too).

Rather than obsess over it, I decided to contact to the actual game park to get a sense of how close they typically get to the animals. They sent back a couple of images for reference:

That’s pretty close!

Close enough that I’m thinking I’ll be able to leave the big lens behind. Traveling with the XF 50-140mm f/2.8 is already going to be new territory for me, but in reality, it isn’t that much larger than the Nikon 24-70mm f/2.8 I used to travel with. Traveling with only a carry-on wasn’t really an option in my DSLR days though.

Astro

I have to admit that one of the first things I thought about for this trip was the opportunity for some good astrophotography. Given I managed to capture the Milky Way with my X100S in the country-side of France, South Africa should offer much less light pollution, and even more visible stars. For that, I’ll be bringing along my XF 16mm f/1.4 WR. With its wide angle and fast aperture, I should be able to get some nice exposures.

Documentary

This is a big family trip, so I’ll also want to document it to some degree, and capture some images while on the streets of Jo’burg, of course. For that, I’ll have my XF 35mm f/2 WR mounted on my X-Pro2.

Cameras In Summary

For now, that’s a total of two bodies, three lenses, a teleconverter, one compact tripod, one pocket-sized tripod, one travel clamp, and a whole whack of batteries.

Filters

Despite what Tony Northrup says in his video that starts off like an infomercial,2 filters can still be pretty important tools to photographers, especially those who like to capture things in camera. That’s not to say that I’m against post processing, but as time goes on, I find my desire to sit at a desk is waning rapidly.

If the XF 100-400mm does stay at home, I don’t have any reason to go larger than 72mm with my filters. This is one of the very rare times I’d consider the use of a lens like the XF 100-400mm, and the only other lens Fuji currently makes at 77mm is the XF 16-55mm f/2.8, which hasn’t been mounted on my camera to take photos in almost a year. In all likelihood I’ll stick with the 77mm as the standard, and add additional sizes as needed, and when funds allow.

A notification that the new 77mm X4 CPL and ND filters and step-up rings I ordered from Breakthrough Photography entered the country popped up on my phone just last night. I’m eager to try Breakthrough’s latest release to see how it stacks up.

Packing

Here we have the biggest hurdles in two parts:

  1. My collection of bags to date doesn’t accommodate longer lenses well.
  2. I strongly prefer carry-on-only travel.

My carry-on bag of choice is Osprey’s Farpoint 55 (S/M) which is already a couple inches longer than airlines typically allow for carry-on, but I haven’t had a problem with it so far.

My strategy is to pack my camera gear and a few clothing items in the Think Tank Airport Express bag I just ordered—that at least two people agree is the bag to get—and pack it along with the rest of my travel needs in the Osprey, hoping for the best. If I get nabbed on the size of the Osprey, I’ll check it and bring the Think Tank as my official carry-on. This will depend entirely on whether or not I can fit the Airport Express in the main compartment of the Osprey with room to spare or not.

Pre-publish Update

I haven’t received the Think Tank bag yet, but I’m losing confidence that it’s going to fit in my Osprey with much, if any room to spare. I’m now pondering whether or not I can get away only the Airport Express and a “personal item.” I’ll have to do some serious layering on the plane, but if I can sneak an item or two in my wife’s carry-on, it just might work.

Happily, I just received notification that my bag has shipped, so once it arrives I’ll test out a few packing strategies.

Other Considerations

I have as much a bag addiction as any photographer has, and I’d love to get myself a Tom Bihn Aeronaut 45 one of these days. Sadly, I don’t think this is the trip for it. I’d have a hard time getting longer lenses in there, and the lack of a frame like the Osprey has to transfer weight to the hips will be a problem. Mirrorless gear is far from heavy, but it’s still more than just clothes.

To Be Continued…

That’s all for now. I hope to write more as the trip draws nearer and I get all my photographic quandaries sorted.

  1. My new South African family actually mocks us a little when we call it “a Safari.” To them, it’s a “game park” or “game reserve.” ↩︎
  2. Really Tony, a whole minute?

    I honestly can’t believe he’s telling people to just do it all in software to save a whole “100 bucks.” Setting aside the fact that I seem to value my time more than he does, and the enjoyment of the creative process, there are things a polarizing filter can do that software can’t replicate, like reducing reflections from the waxy coating on leaves.

    On top of that, his struggle with the filter is laughable, his water reflection example is horrendous, and the idea that capturing 10s of images instead of one is less time consuming or cost-effective (storage for all those RAW files costs money, after all), is ludicrous.

    I will give him that UV filters are worthless though.