Recommended Products
This is list of hardware and software I use, or have used and recommend. These are my honest summary reviews after extensive use.
Camera Support
When it comes to supporting my camera, I followed the sage advice of Thom Hogan. Rather than start with entry-level support and working my way up the quality ladder, I researched, measured and obsessed over which high-end tripod and ballhead to buy, with the intention of doing it once. That would have worked great, had it not be for stupid Fuji and the awesome small cameras.
I also like to stay with consistent eco-systems when the quality is there. They give me confidence that the components will work together, and it’s one-stop shopping for purchasing, or servicing equipment.
The brand I decided on was Really Right Stuff,→ shortly after their carbon fibre hit the market, and started receiving praise equal to that of their ballheads. Really Right Stuff equipment is not inexpensive, and it even a little more expensive than the common alternative, Gitzo but it’s of extremely high quality, comes with a 5-year product guarantee they stand behind, and a couple other advantages:
- Clear, numbered naming convention. Choosing which tripod and ballhead you need is relatively easy compared to maze that is Gitzo’s product line-up.1
- Made in the United States. This matters a bunch to me as a Canadian as any product that’s 100% made in the USA does not get hit with duty charges, just tax. Most “photographic equipment” is also duty free.
Medium-Size Support
Really Right Stuff Series 2 Package
For my first tripod, I went with Really Right Stuff’s Series 2 tripods. For DSLRs, I believe they strike the right balance between size and stability. I chose the 3-section tripod at the time despite its increased length to ensure stability. Travelling with it was always exciting as it exceeds maximum carry-on length by quite a few centimetres. Had I been challenged on it, I could easily have packed it in my checked luggage (back when I used to check luggage), but fortunately I always made it through check-in without incident.
The obvious head to pair with TVC-23 is the BH-40. It’s a perfect match, and was rock solid with the pro DSLR and lens combinations I threw at it. I chose the lever-release version of the BH-40 to reduce set-up and teardown time as much as possible.
For Fuji owners who intend to primarily use “Red Badge” zooms like the XF 16-55mm f/2.8, XF 50-140mm f/2.8 and the upcoming XF 100-400mm, this mid-size support system could very well be the right size. It does look a little ridiculous packed in smaller backpacks though, and walking into a single malt store on the Royal Mile made at least one store clerk a little nervous.
Light/Travel-Size Support
Really Right Stuff TQC-14 Series 1 Package
Prior to getting my XF 50-140mm f/2.8, I found the Series 2 much larger than I ever needed, so I ordered Really Right Stuff’s “Compact Package,” the TQC-14 Series 1, and sold my Series 2 support. “QC” stands for Quick Column. For prime or X100 shooters especially, the TQC-14 is plenty of tripod, and the BH-30 is more than up to the task of holding even the heaviest Fuji body and lens combination still during long exposures.
For travel, the Series 1 is fantastic. I no longer have a giant tripod sticking up near my head when carrying my backpack that threatens to clobber unsuspecting passers-by if I turn around too quickly.
Really Right Stuff PC-Pro Panning Clamp
For dead simple panos, I use this clamp. RRS has since released an update to the panning knob, and a level-release option, but I actually like using the screw knob for the L-plate clamp for panning.
Ultra Light/Table Top Support
Really Right Stuff Table Top Package
This is the support I have with me almost all the time, along with a dual X100 kit in my Billingham Hadley Small. At the time, it only shipped with the BH-25 LR and BH-45 Pro ballheads. I went with the lever-release option without thinking, agains to make affixing and removing the camera as fast as possible. For the most part this works, but the lever can get in the way at times. Fortunately it’s pretty simple to get it out of the way, but I’m still considering the previously unavailable BC-18 Micro Ball which is even smaller, and less than half the weight of the already lightweight BH-25.
Arca-Swiss L-plate
It should come as little surprise that I use Really Right Stuff plates for my cameras. I always opt for L-plates as opposed to only bottom plates as switching to portrait orientation is not only lightning fast, but much more stable than using a drop notch. L-plates make for easier high resolution panos as well. Need more megapixels? Capture a pano in portrait mode.
Backpacks
Incase “DSLR” Pro Pack
Despite its name, the Incase DSLR Pro Pack is very well suited for an extensive mirrorless kit, thanks to it being significantly shallower than something like a ThinkTank backpack. It can pack two interchangeable cameras in the main compartment, an X100 fits perfectly in the little top compartment in the front for quick access, and has straps for a tripod on the side, which keeps the rest of the bag accessible.
I’ve had the older version this backpack—which looks to be functionally identical—for almost 2 years now. The version I have is a charcoal grey, but the newer model is also nice and discrete. It was my daily commuter bag for well over a year, and aside from some wear on the padded dividers, it’s still going strong. The zippers all still work great and it doesn’t look used which can be important for a work bag.
The biggest gripe I have with it is that the space for a laptop and tablet are both towards the front of the bag, which moves the weight of those typically heavier items away from your body. This makes the bag prone to toppling forward. There’s not much I can do about the weight distribution when packing light for cameras gear, but the toppling effect is easily avoided by spinning the bag ’round when leaning it.
LowePro Photo Sport 200 AW
This bag started as my DSLR hiking pack. It held my D700 with either the 24-70mm f/2.8 or 14-24mm f/2.8 in its bottom compartment perfectly, with the other lens and miscellaneous hiking-related gear in its upper compartment. It too has a space for a tripod (at the time I was packing a RRS TVC-23, which, as a friend remarked, made the bag look like a jetpack), and a dedicated pouch for a water bladder.
Since switching over to Fuji, this bag hasn’t been used much, until recently as my cameras would just float around in it. Now that we have some larger “pro” zooms, it’s suddenly viable again. An X-T1 with an XF 16-55mm f/2.8 and L-plate or Vertical Grip attached fits in the lower compartment (the latter is snug, but serviceable), and I can even get the XF 50-140mm f/2.8 in the bottom-most section of the lower compartment as well.
For some reason, all my travel clothes and accessories ended up being orange and grey, so this bag fit the bill. Colour wasn’t the only criterium of course, and I had also purchased the LowePro Versapack→ at the same time, packed both bags up full a few times, and ultimate went with the Photo Sport 200 for it’s superior comfort. Honestly, this bag has the most comfortable straps of any backpack I’ve ever used. Lower also have a sling version→ of this bag, but when the amount of gear I want to carry gets over a couple kilos, I avoid single strap carry options like the plague as the value a fully functioning and pain-free spine too much.
Lowepro Flipside Sport AW 15L
As luck would have it, Lowepro made another orange bag that’s sized perfectly for mirrorless cameras. The Flipside is a good bag for something like going for a bike ride in the city when I don’t want to pack as much as the Incase will hold, and I don’t need the extra capacity or non-camera-specific compartments of the Photo Sport. It can hold an excellent assortment of camera gear, really all you want to have for a day. What I ended up doing on a trip to Europe on which my wife and I decided we would only pack carry-on luggage was fill this bag, wrap the straps up tight, and pack it into my Osprey backpack.
My Really Right Stuff TQC-14 will barely fit in the side straps which sadly are not adjustable, and the extra compartments aren’t terribly versatile. The side pocket holds my wallet, keys, and extra batteries. The horribly inflexible inner pocket is good for a phone, but I jam my bike lock in it.
Osprey Farpoint 55
Not a camera bag, but if you’re looking for probably the best way to travel with carry-on only, this is how to do it. There’s a reason everyone on the Amazing Race carries an Osprey, they’re the gold standard of travel backpacks. They’re lightweight, and ridiculously comfortable, even when packed to capacity provided the hip and sternum straps are used. I obsessed over which pack to buy, and tried a few of different backpack options,2 but the Osprey Farpoint 55 came out on top, and I’ll do whatever I can to not check luggage again.
It’s important to get the Small/Medium size chassis for these bags as they’ll fit within carry-on requirements,3 whereas the Medium/Large ones do not.
Shoulder Bags
Billingham Hadley Small
Regular readers have likely already seen my extensive comparison of the Billingham Hadley Small, and ONA’s leather Bowery.→ If you’re after a super light-weight and waterproof carry solution for your Fuji gear, I haven’t found a better option. These days, my Hadley small stays packed with a dual X100 setup. A Really Right stuff L-plate is on my X100S along with the WCL-X100 conversation lens for tripod/long exposure work, and my X100T stays at the ready for casual and street shooting. Even with those two cameras in the bag, there’s plenty of room for my Really Right Stuff tabletop tripod, a couple filters, compact headphones, and eyeglasses.
Desktop Software
Adobe Lightroom

I’ve been a Lightroom user since the beta. The beta was good enough and fast enough then for me to not consider Apple’s Aperture, which was released a few months earlier, and that didn’t change with any subsequent releases. While I was a “Live in Lightroom” sort of user in my Nikon days, Adobe’s glacial support of X-Trans sensors has resulted in my looking elsewhere for my RAF processing needs, however Lightroom still remains my Library management application of choice, for now.
Unfortunately, Adobe seems to be doing what many photographers feared, which is to roll Lightroom into their Creative Cloud subscription. I’m willing to bet version 6 will be the last version of Lightroom we can buy and own.
Capture One Pro 8

As seen in my RAW Converter Showdown in September 2014, Capture One 7 offered significantly better conversion of RAFs than Lightroom 5 did, and not much changed with the release of Lightroom 6.1 and Capture One Pro 8. For those starting out and who don’t already have Lightroom muscle memory built up over the years, Capture One Pro is the all-in-one software package of choice for me.
Iridient Developer

I’ve gushed about this software quite a bit already on this site, but that’s not going to stop me from doing it here. This is an application that is focused on maximizing the potential of your camera’s sensor. It likely won’t be your final destination for artistic interpretive photography, but it’s the perfect place to start when neutralizing your histogram prior to creative processing. If you’re looking to extract every last bit of detail from your RAFs, Iridient Developer should be at the top of your list.
iOS
My photographic workflow has been steadily inching its way towards mobile. There are in incredible number of photo editing applications available for iOS, and I’ve purchased a LOT of them. Since the beginning of this year, the state of photo editing on iPhone in particular has improved immensely as a few superb apps have been released that offer a ton of creative control, and excellent user interfaces. Here are my favourites.
Pixelmator

This is currently my app of choice. It has almost all the features I want, and nothing I don’t, unlike some other apps. It’s a must-buy.
Darkroom

Darkroom had a whole month of being my favourite iPhone photo editor. Darkroom and Enlight both provide dark UIs as opposed to Pixelmator’s largely OS default look and feel. Darkroom isn’t as flexible as either of the others, and you have to pay to unlock the Curves which are a weaker by comparison, but for quick editing with a super straight-forward user experience, and some nice filters including one called “Fuji,” Darkroom is a great app to have.
SKRWT

The developer of SKRWT calls their app “ the missing link in high-end Smartphone Photography.” That might be a bit over the top, but it’s the best, of not the only game in town when it comes to key-stone and lens correction.
Photo Toaster
As the oldest app on the list by quite a wide margin, Photo Toaster barely makes the cut. It feels a little less dated with the recent icon update, but still shows its age its UI. Until recently, it was my go-to for quick, subtle filters, easy vignettes and borders.
Dark Sky Finder

For the astro-photography nerds out there, this is another must-have. It clearly depicts light pollution levels, and how far you need to travel to escape them.
Enlight

This app, along with Darkroom launched just before Pixelmator for iPhone arrived. For a few weeks this app was my go-to, but a few annoyances like not being able to hide the photo drawer entirely and a few features I find superfluous have made Pixelmator my top pick. I’ll still jump into Enlight on occasion however when I want more options for Clarity or other filters.
Polarr

Polar is the latest entry in the recent barrage of robust, high quality iOS photo editors. It’s very full-featured, fast and offers quick edits once the UI has been figured out. Two of app’s marquee features, circular adjustment and gradient adjustment are locked behind an in-app purchase.
Filterstorm Neue

Prior to photo editing flood of 2015, Filterstorm Neue was the app I turned to when I wanted control of all aspects of my image. Filterstorm offers enormous depth, right down to EXIF data and IPTC sets, to automation. It’s somehow a bit more utilitarian than I’d like, but it’s very much worth a look.
The Photographer’s Ephemeris
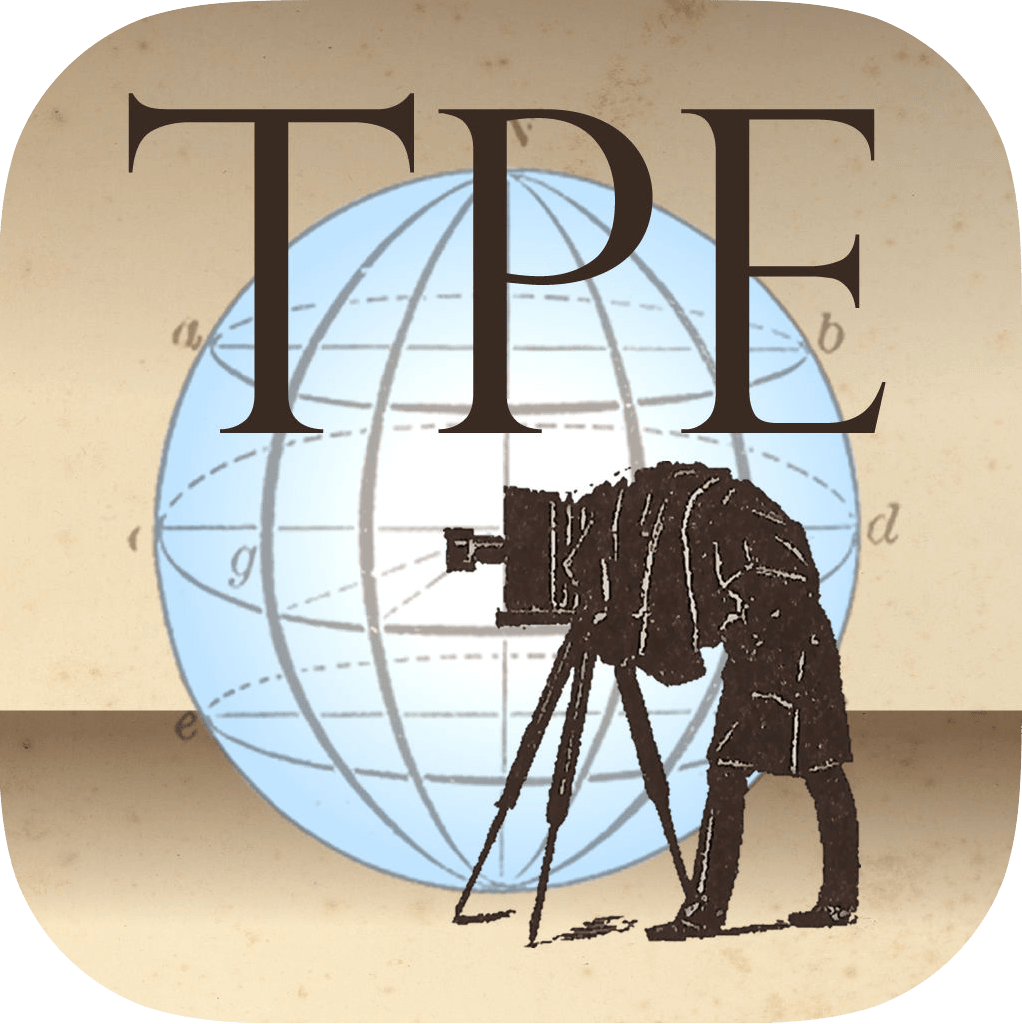
If you’re a landscape photographer, this app is an absolute must-have. Not only will you have easy access to golden hour wherever and whenever, The Photographer’s Ephemeris let’s plot out precise locations for rising and setting of both the sun and moon. I’ve got a reminder in my calendar for September when the moon will be full, at it’s largest, and rising over the city at just before 7:00pm.