Returning my 2016 MacBook Pro

Yesterday evening I handed my new 2016 MacBook Pro with TouchBar back to UPS, and I’m not sure what I’m going to do about a computer now.

My Mid 2013 MacBook Pro was showing its age. The battery would spontaneously crap out at 40% when under heavy load,1 it never seemed to like the replacement OWC Mercury Aura Pro Internal SSD,→ 2 and for all those people complaining about 16GB of RAM not being enough, try 8. Two X-Trans III images open in Photoshop with some layers meant swap city for me.

When Apple announced the 2016 MacBook Pros, I was about as underwhelmed as anyone, but I’ve been waiting and in need of a computer upgrade for too long, so I decided to pull the trigger.

And I pulled it hard.

Fastest processor, beefiest GPU, 2TB of storage, AppleCare, the works. Oh, and dongles. Gotta have some dongles. New computers are always huge, infrequent purchases for me3 that are not taken lightly.

Wobble

Out of the box, the Power/Touch ID button felt fairly loose to me, and had some side to side play. It would almost stick to my finger when using Touch ID, and “click” back into place. It felt awful and cheap. Some searching suggested this is pretty common, but I figured I would check things out for myself. I went to an Apple Store, and wobbled my finger back and forth on every Touch ID enabled MacBook they had. Some were rock solid, others had a little bit of play, but in the noisy store it was tough to hear the weird clicking sound if it existed.

I thought I might just live with it. It didn’t bug me that much, and I can be really picky with this sort of thing, but soon after I concluded there is no way in hell I should keep such an expensive machine when I know good power buttons exist.

Genius

Off I went to the Apple Store for my Genius Bar appointment where the Genius agreed the button was indeed “not seated correctly.” I asked him what my options were.

The Perils of a Custom Order

Because I had decided to give Apple more money by way of a custom built machine, he suggested I could either return it and place an order for another, or order another machine, keep the one I had until a new one arrived, and then return the first. Neither option worked for me. I didn’t want to be without a computer for another 4 weeks, nor did I want a second enormous charge on my credit card. Frustrated, and after calling Apple to confirm these were my only two options, I decided to just return it for now, and contemplate my options.

For what it’s worth, had I bought a configuration Apple carries in store, they would have swapped it for me on the spot, without issue. It’s a real shame that those who give Apple more money receive a poorer exchange experience. Apple’s support team acknowledged that too.

“Shim Kit”

Moments after leaving the Apple Store, the Genius called to inform me of one more option. This issue is so common that Apple has an official “2016 MacBook Pro shim kit” for the Power button. The Genius said he’s never actually done it before, wasn’t sure of the success rate, and it would take 3-5 business days to complete. Again though, I don’t think I should be looking at having a repair done to a brand new expensive computer that would have meant cracking it open, especially not within the return policy.

What Are My Options?

There’s a chance I’ll end up placing an order for another MacBook Pro, but I would be really concerned about getting another crappy power button, and by the time I’m ready to do that, new desktop computers from Apple could be around the corner. Realistically, it will probably be at least 4 months before a rumoured desktop would ship, so for now, I’m going to have to see if I can get by with my iOS devices, and a somewhat locked down Mid 2015 MacBook Pro from work.

There’s Really No Good Mac For Me

A new MacBook Pro is probably the most “right” for me, but it was pretty unsettling to have a new computer in front of me that I just wasn’t at all excited about. Maybe if it was flawless I would have felt better about things, but I doubt it. It’s also expensive, especially after the few tweaks you can make to a base machine.

32GB seems like the right minimum for RAM right now. 2TB of storage is what I would like. I would love a decent GPU. Can you guess where that was leading me?

PC Land

I’ve been using and loving Macs since I started college. Almost 20 years. I know my way around them very well. But all the recent reports about Apple not prioritizing the Mac or macOS and Apple’s own actions have me wondering if it’s the right platform anymore. Something like the Razer Blade Pro looks awfully enticing, for instance. The trouble there is the company is so small, it’s impossible to even try one of those machines out, and further research has lead me to believe that there are aspects to macOS and the Mac in general I would miss too much. Still, I know I’m not the only person thinking this kind of thing, and I hope that’s something Apple still cares about.

Adobe Box

Personal Computers are fast-becoming “Adobe Boxes” for me. The OS that surrounds Adobe’s apps matters less, but it still matters. It’s a shame Adobe has been relatively slow to make better use of things like “Metal” to really get their software optimized for the Mac. And it’s also a real shame that Apple seems to want to kill off business units these days. I’m not the least bit confident that applications like Final Cut and Logic won’t meet a similar fate as Aperture did.

Conclusion

Ultimately, I’ll likely end up waiting for early 2017 when it’s rumoured desktops of some kind could be announced. I’ve waited this along, another 4-6 months won’t kill me. Probably.

This has got to be the one of the worst times for photographers and creative professionals to buy Apple computers. As a fan for so many years, it really just makes me kind of sad there’s no “right” option.

Waste of Time

The last thing I’ll note is this has been an enormous waste of time for me. Getting a new computer set up, redeploying my old one, then backing up all my data before wiping the defective unit and not being able to just return it to a store was a really big pain in the ass. I lost a couple weeks worth of my free time to this whole process. Something to consider for those looking to embark upon a computer upgrade of their own.

  1. Bizarrely, it functions as expected during light tasks. I suspect this is to do with the discrete GPU. In any event, it’s working great for my wife and she’s thrilled to have a larger Retina display, coming from a 2011 MacBook Air. ↩︎
  2. This is the second product I’ve purchased from them that has had issues. In this case, waking from sleep was slow, and the login screen would flash on and off a number of times before allowing me to log in. The other was a refurbished external enclosure with a single USB3 port that was spotty at best. ↩︎
  3. The last computer I bought, excluding iPads, was an Early 2011 17 inch MacBook Pro with an anti-glare matte display, obviously. I maxed the RAM and GPU out on that thing, got a 256GB SSD which was pretty big money at the time, and promptly ripped the optical drive out in favour of an OWC Data Doubler→—an OWC product I really like—and a nice big spinning platter HDD for my media. To this day, that and my 2008 MacPro are the best Apple computers I’ve ever had. ↩︎

Favourite Lens By The Numbers

I brought a lot of gear with me on my last trip. I wondered which, if any lenses would have been better left at home. Looking at my catalogue, here’s how many selects were captured with each of the lenses I brought:

  • XF 10-24mm F4: 12
  • XF 16-55mm F2.8 WR: 68
  • XF 16mm F1.4 WR: 58
  • XF 35mm F2 WR: 236
  • XF 50-140mm F2.8 WR: 82
  • XF 100-400mm F4.5-5.6 WR: 105

Analysis

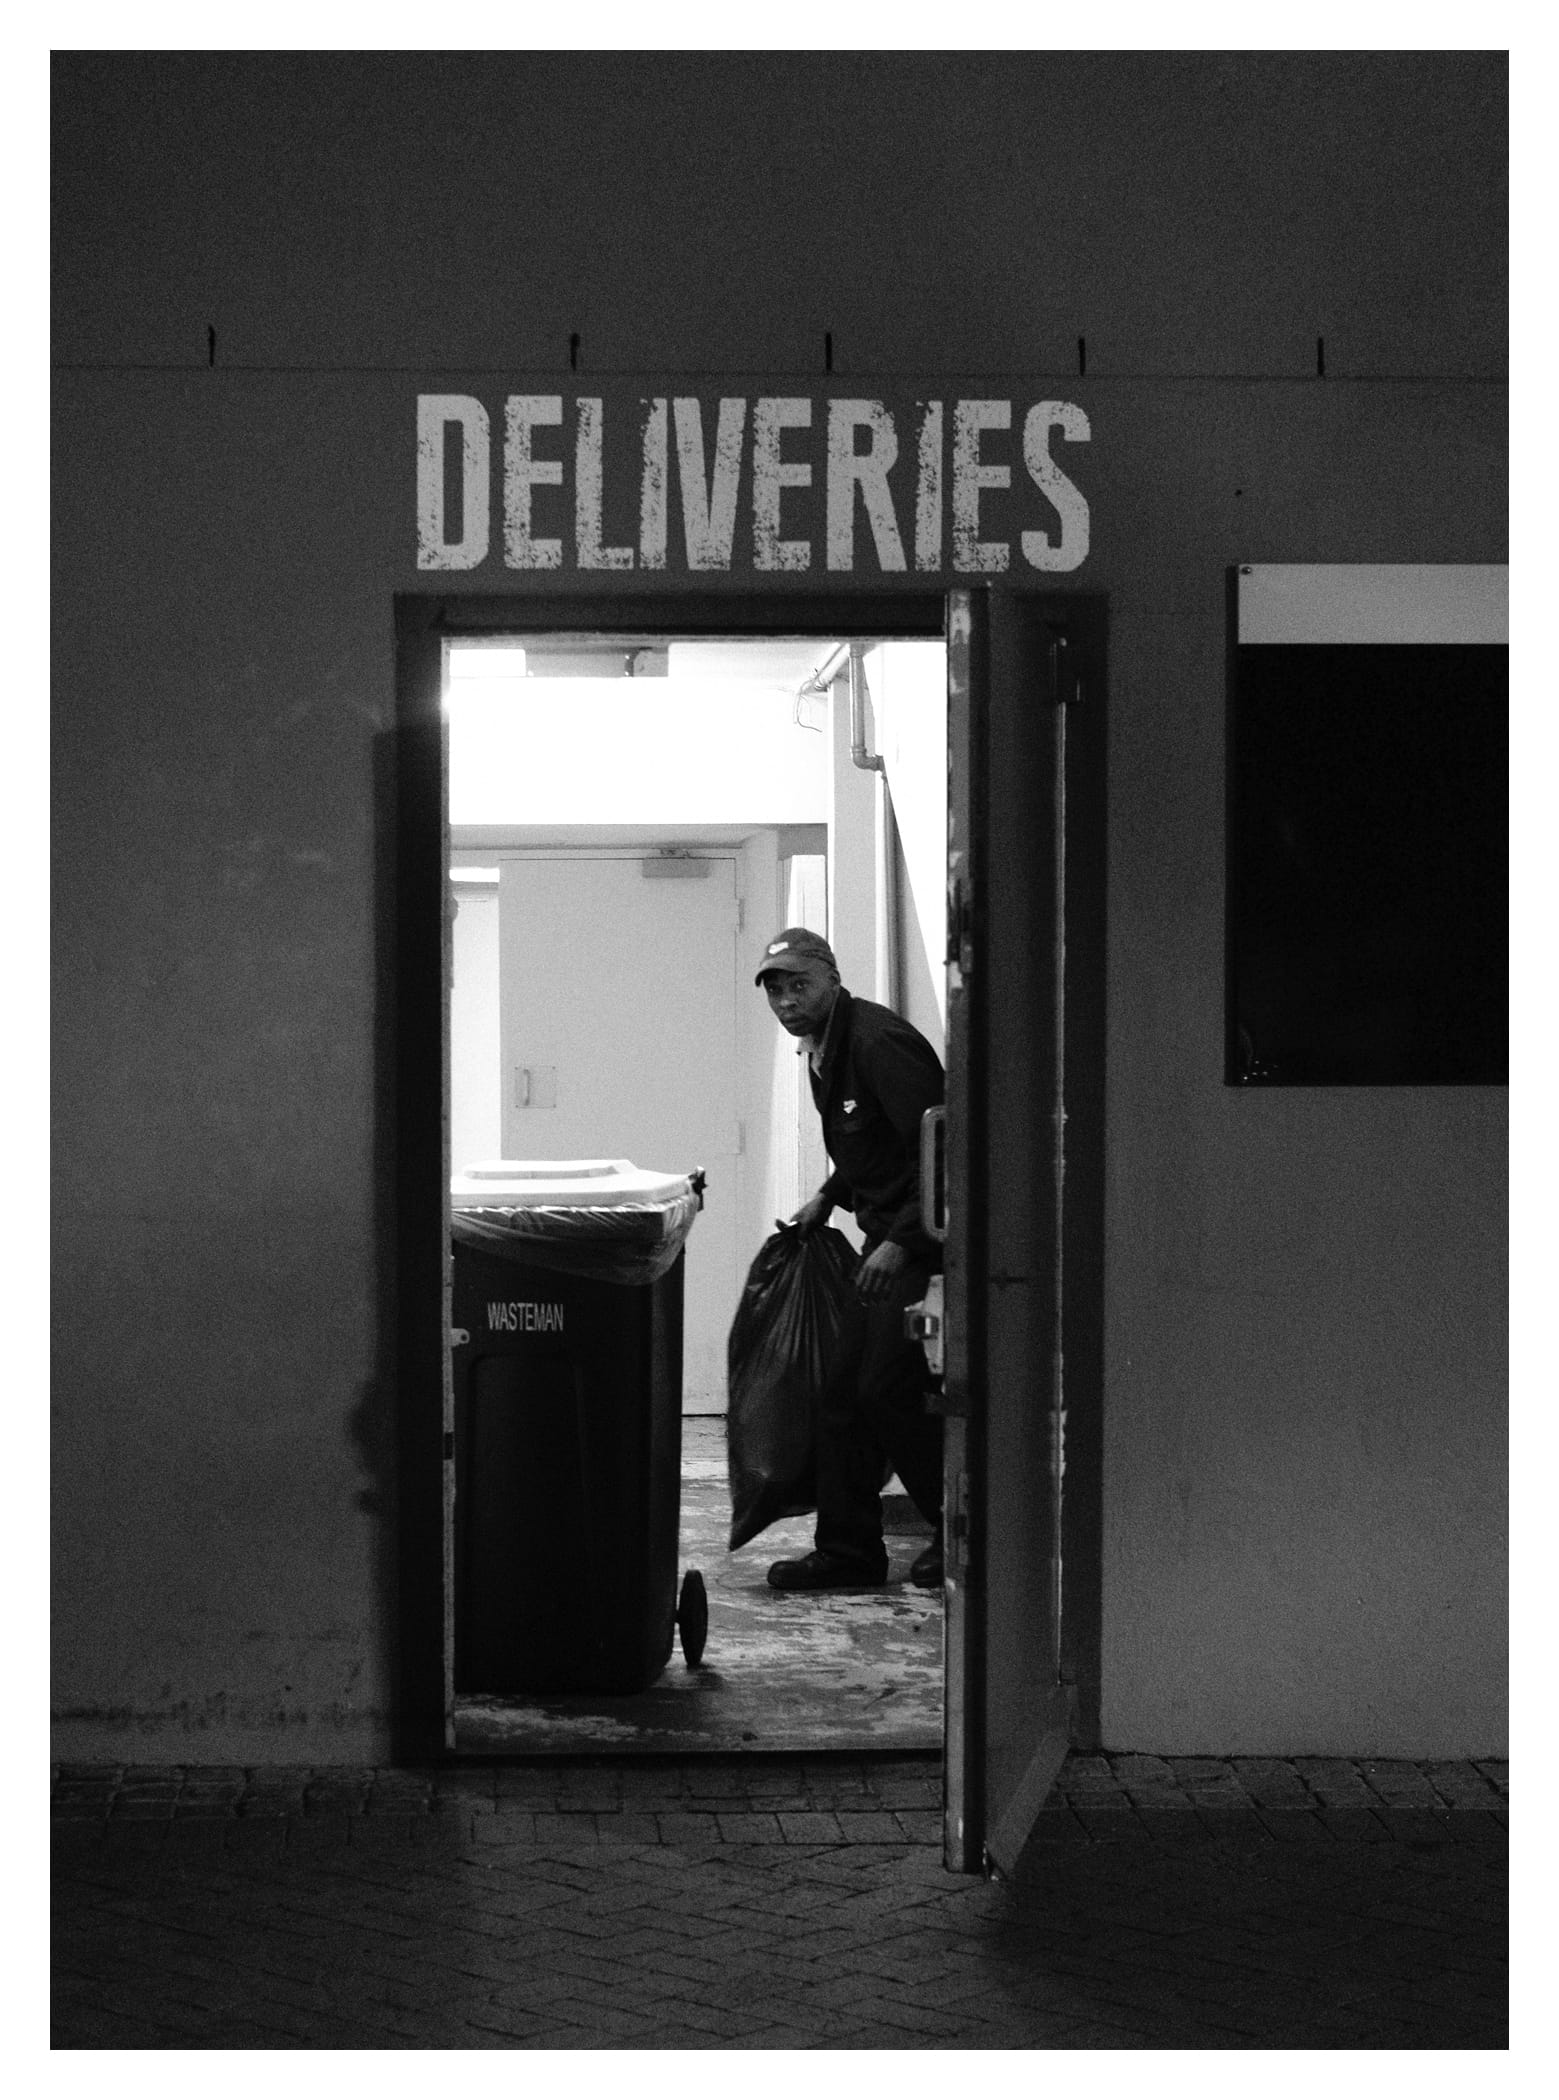
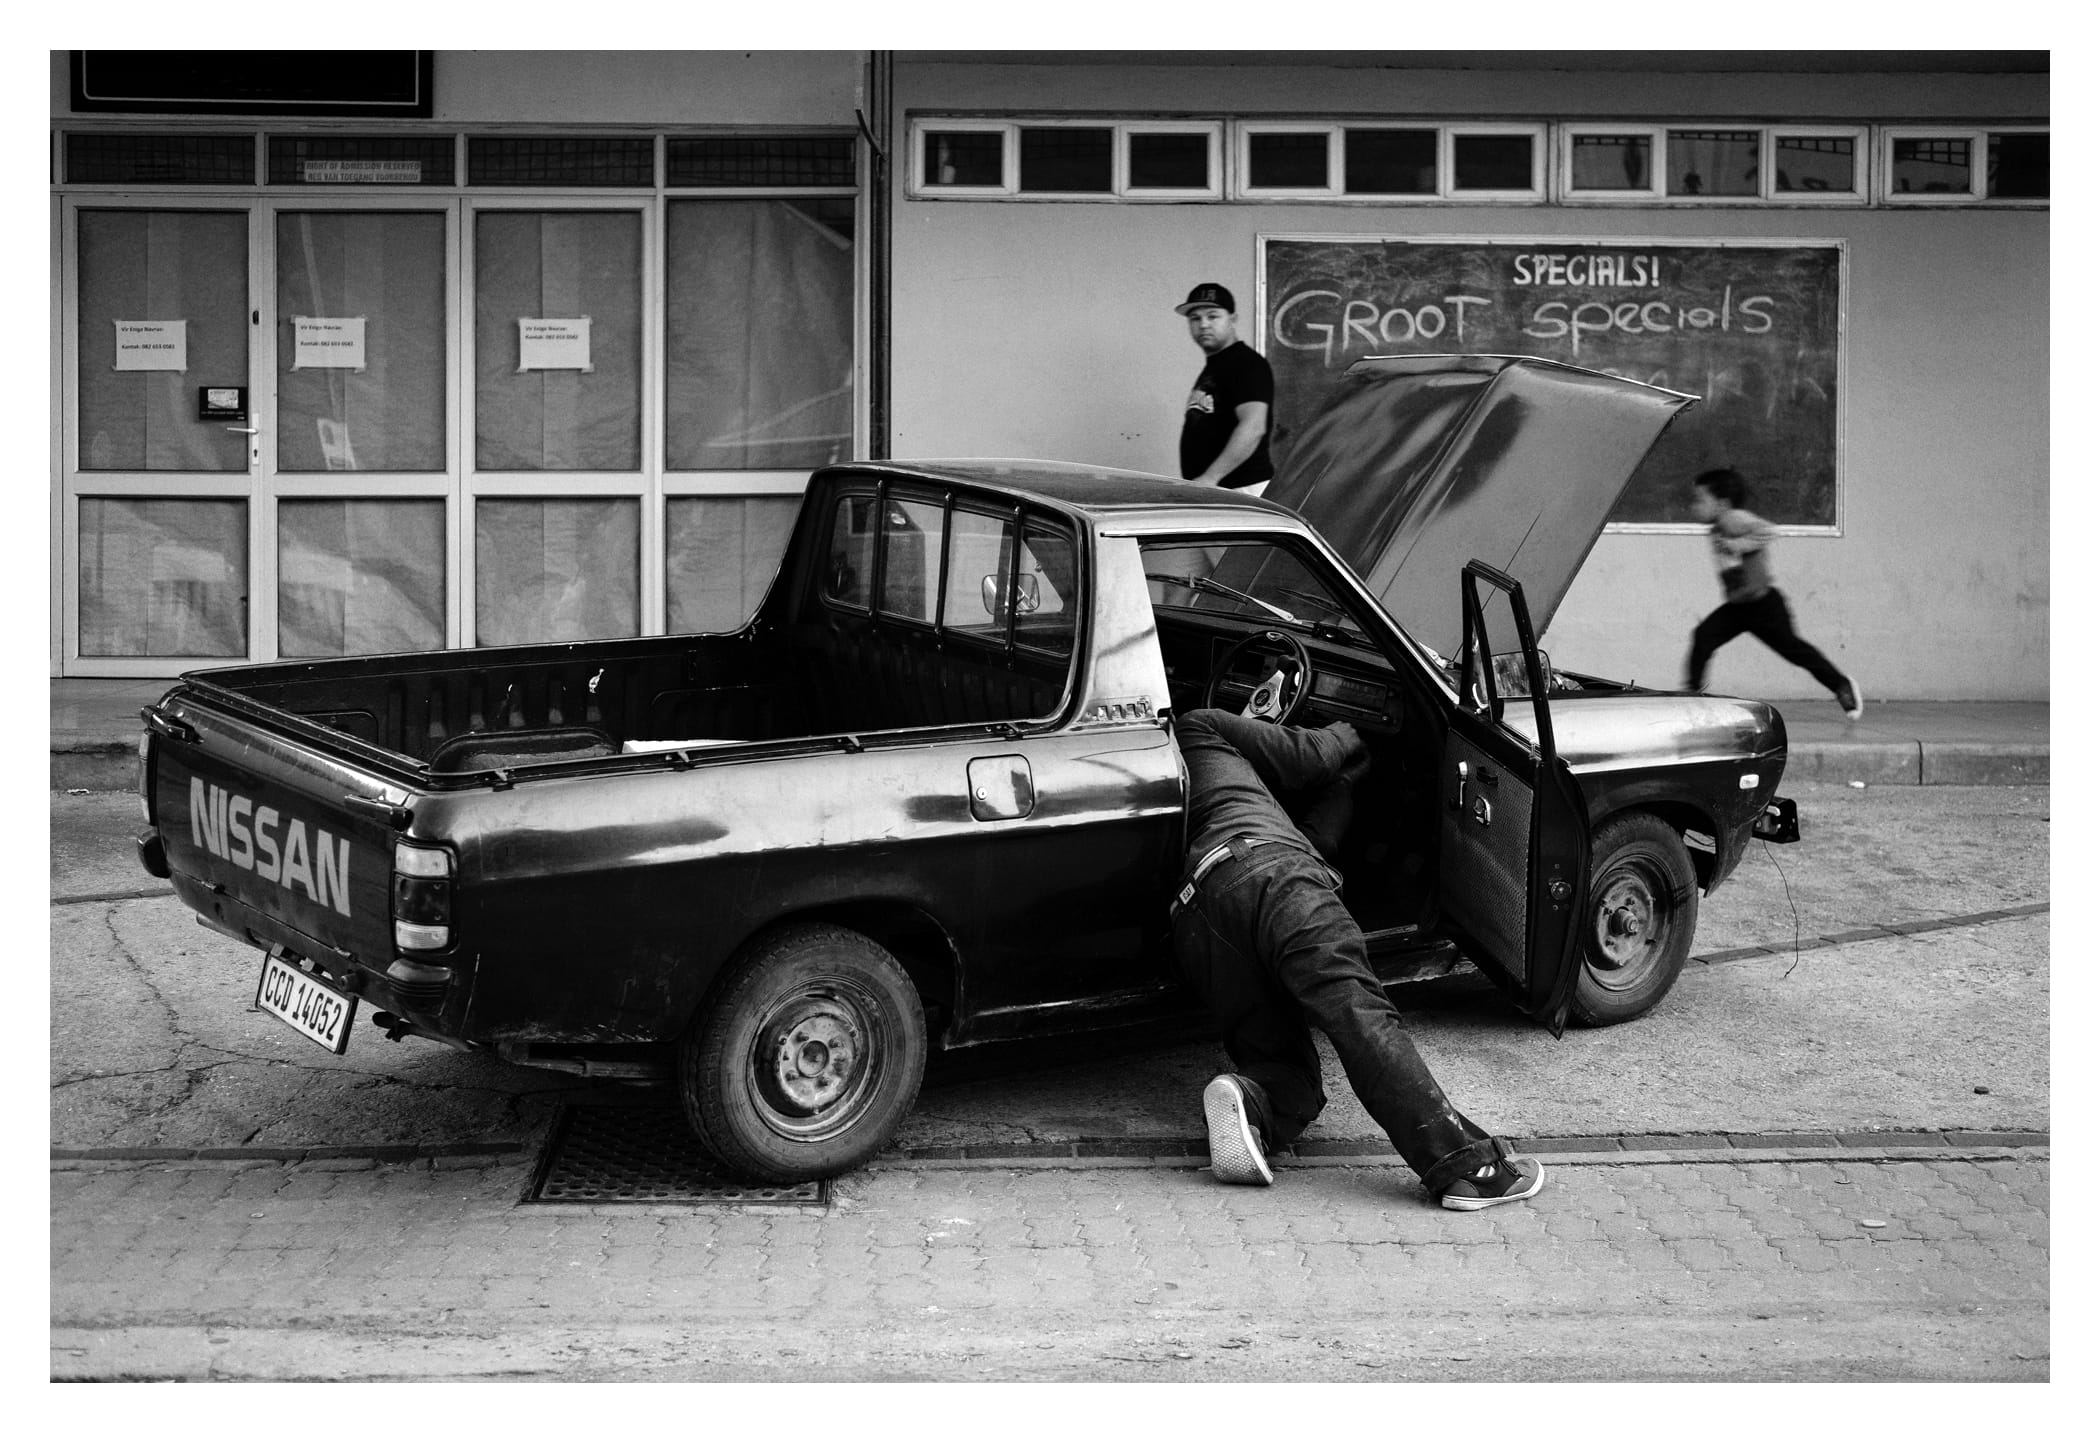
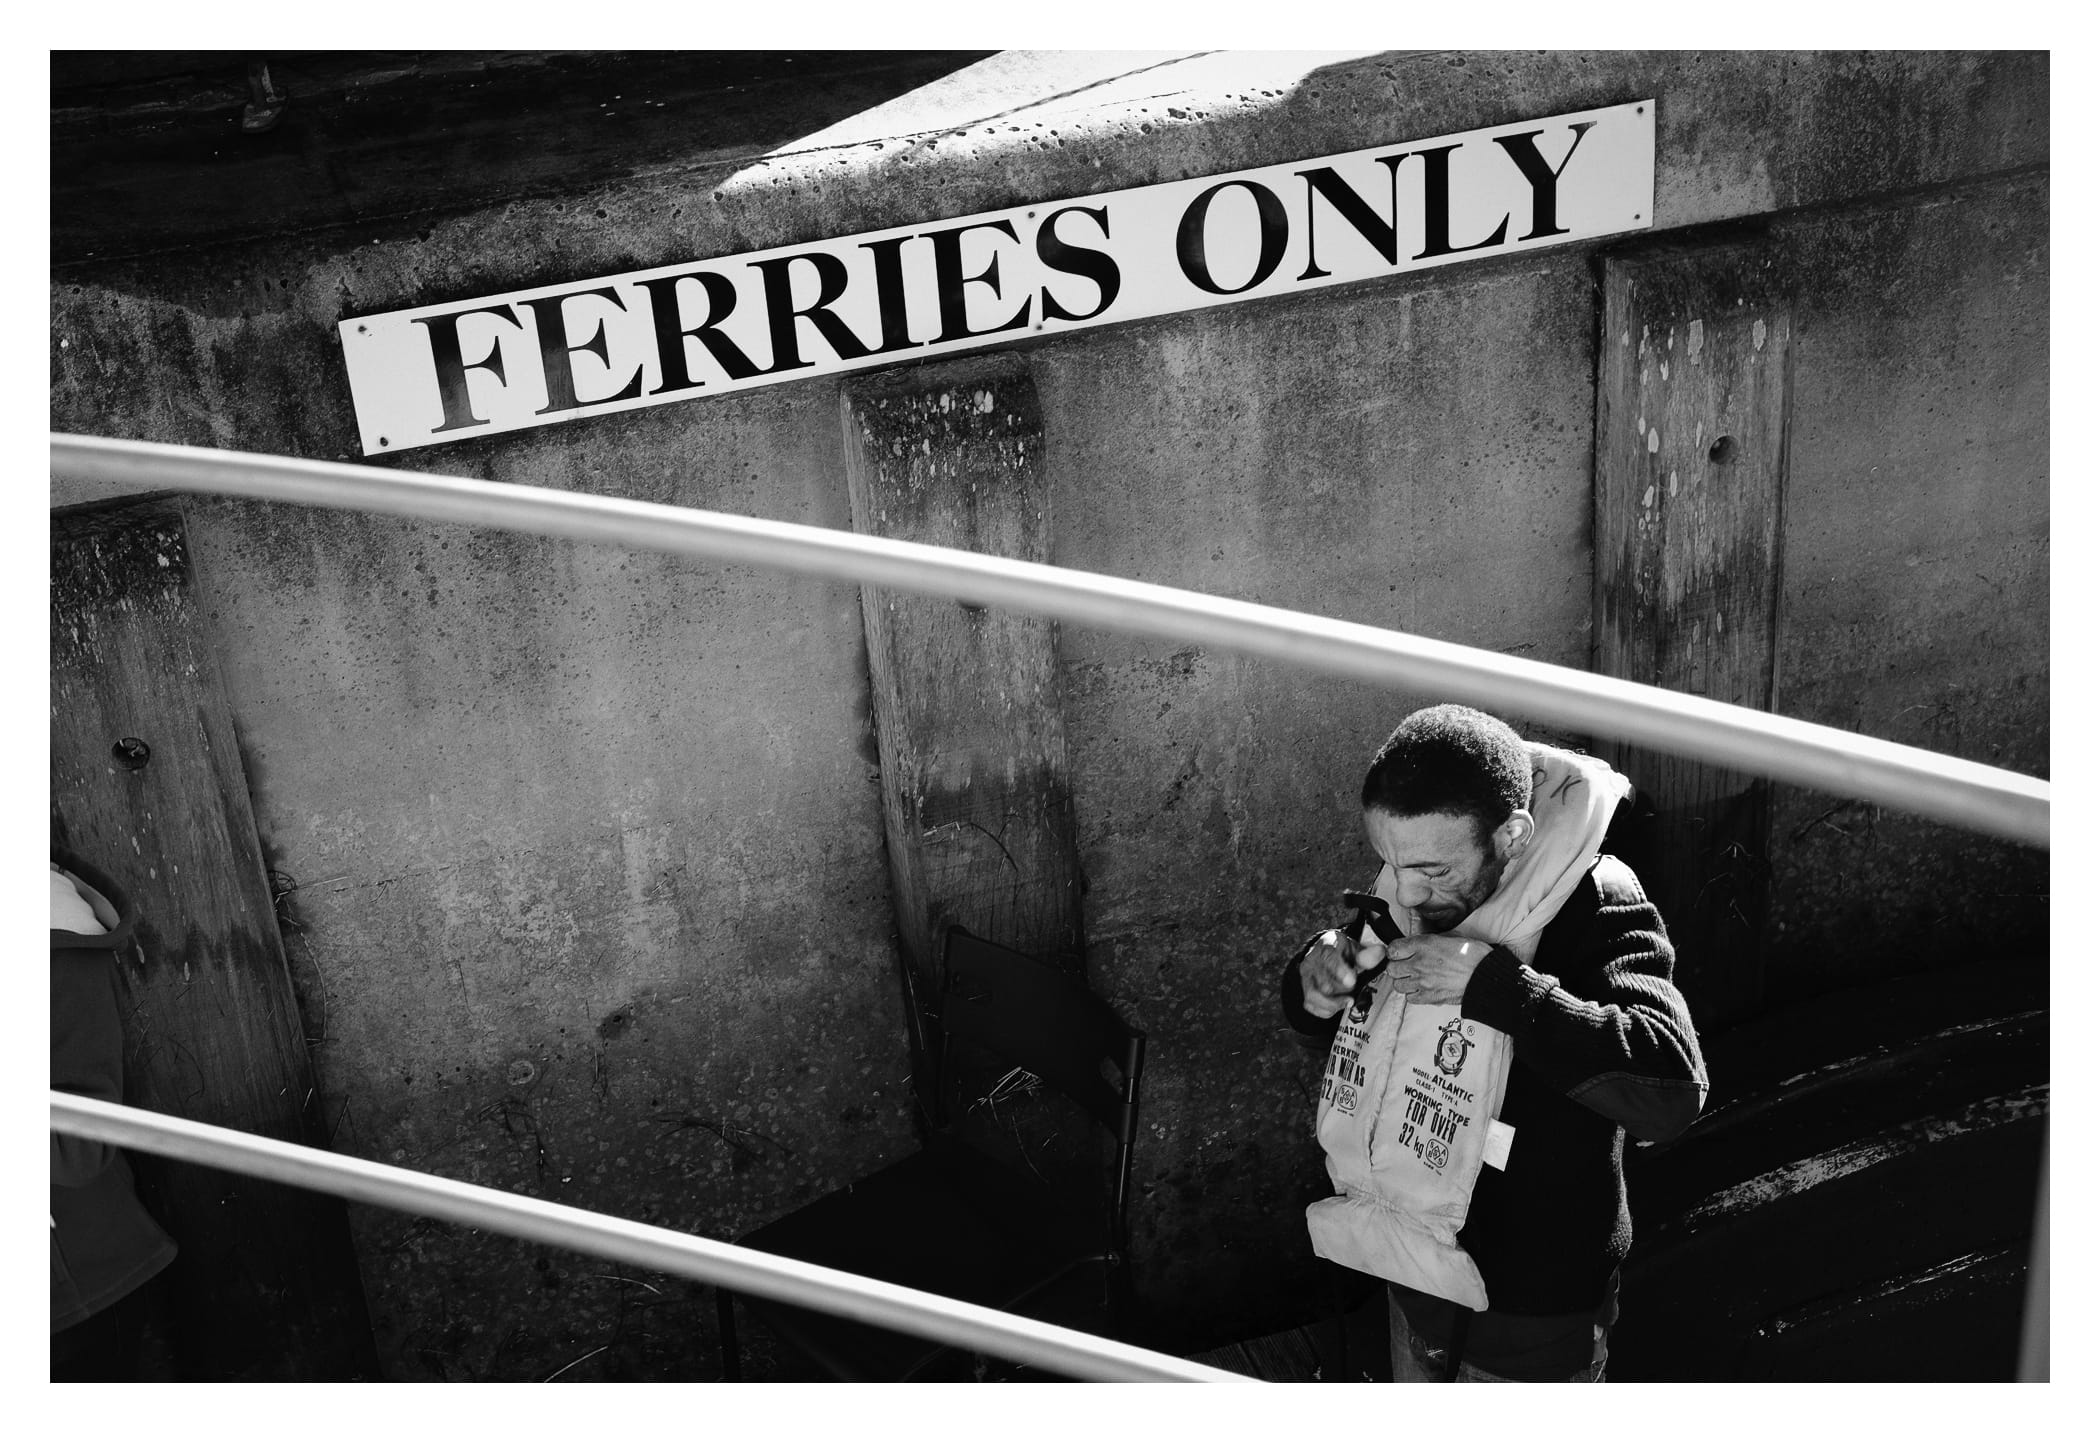
What follows is a brief analysis of each lens, as well as a small selection of images from each. Click for a larger view.

XF 10-24mm F4→

This is the lens I was closest to leaving behind, so I’m not surprised it’s the lens that came away with the fewest selects. Of those selects though, ¾ of them were captured at a focal length wider than any other lens I had with me. I suppose that’s sort of the point of having an ultra wide angle zoom, and I could have worked around not having it, but it’s interesting to me nonetheless.

If it was weather sealed,1 I would have brought only it, and left the XF16-55mm F2.8 WR behind. Let’s see if that would have been the right choice.

XF 16-55mm F2.8 WR→

41 of the 68 selects were within a couple millimetres of either widest or longest ends of the focal range, and of those, ¾ were zoomed in towards 55mm, suggesting my plan to leave it at home if the XF 10-24mm F4 was weather sealed would not have been a good one. Sure, I could have covered the 50mm mark with the XF 50-140mm F2.8 WR, but that’s a significantly larger lens, and one that I didn’t have much interest in hauling up to the top of Table Mountain, or hitting a family member in the face with in a small restaurant.

Is bringing an extra lens worth 68 decent photographs? I think so.

XF 16mm F1.4 WR→

Unfortunately, I didn’t get the opportunity to use the XF 16mm F1.4 WR for astrophotography nearly as much as I had hoped. Nighttime on the game reserve was not a time to wander off without an escort. I did get one starry image I’m happy with at The Fernery, a remote lodge along the Garden Route.

Otherwise, the f/1.4 aperture came in really handy in places like the Cango Caves, Featherbed Nature Reserve, and dimly-lit restaurants. I opted for the 16mm prime over the XF 16-55mm F2.8 WR when both were handy for landscapes as well. Such a great lens.

XF 35mm F2 WR→

No surprise here. With the X-T2 out, there will be little, if any reason for this lens to leave my X-Pro2. The overwhelming majority of my candid, documentary, and street photography was captured with the XF 35mm F2 WR. I even nabbed a couple landscape panos and long exposures by just holding my 77mm neutral density filter flush against the front of the lens.

This is the lens I thought was my favourite, and data shows I was correct.

XF 50-140mm F2.8 WR→

Only about ⅓ of my animal selects came from the XF 50-140mm F2.8 WR; 55 images or so. I would have expected a more even split, and I think if I were to visit another game reserve, I would spend more time in this focal range. I felt so compelled to get closer, but I would often realize and force myself to capture more of the environment. Closeups are great, but they can come from a zoo. Seeing animals in their natural habitat is what makes visiting game reserves so special.

The XF 50-140mm F2.8 WR also came in handy for the odd portrait of family members, and even some far away landscapes along the Garden Route.

XF 100-400mm F4.5-5.6 WR→

This, along with the XF 2X TC WR Teleconverter→ was essentially my animal lens. The reach it gets you compared to the XF 50-140mm F2.8 WR can’t be overstated, and for the most part, I was perfectly happy to take a hit on ISO because of the smaller aperture in favour of the extra reach.

Of the 105 selects with this lens, just 4 were not of animals. This is a lens that would have no business in my bag for just about any other travel, but am I ever glad I had it with me. I can’t believe I had considered not bringing it. I’d have been doing a lot more cropping. Again though, I probably spent a little bit too much time zoomed right in. 59 of the selects are at 400mm.

Hit Rate

My average select percentage for the XF 10-24mm F4, XF 16-55mm F2.8 WR, and XF 16mm F1.4 WR is in around 12-13%. The XF 35mm F2 WR was a bit higher at 18%, and the two telephoto zooms were comically low at just over 3% for the XF 50-140mm F2.8 WR, and barely over 2% for the XF 100-400mm F4.5-5.6 WR.

Now, this is calculated using total number of frames, and does not account for bracketing, panos, or the fact that I was popping off 8 frames per second fairly regularly with the telephoto lenses mounted. With more practice anticipating the moment, restraint and just being a little less excited, I bet my hit rate would be higher with the telephoto zooms. This isn’t to say that upwards of 85% of my photos are crap either—at least I hope not—but 1,913 Picks with around 500 images to share out of 9,900 from a two week trip with a big family seems alright. Getting through those bursts took a lot of time though, and isn’t something I’d want to do often. It has me exploring Photo Mechanic again2 as Lightroom is just so slow at times.

Conclusion

For the most part, I feel pretty good about my gear choices. Looking at the selection of photos above, and excluding animals, I’m happiest with images from the primes. I probably should have left the XF10-24mm F4 at home, and likely will do next time I travel. 24mm is about as wide as I like going for the most part, and the XF 16mm F1.4 WR is just awesome.

My typical travel camera and lens setup going forward will likely be and X-Pro2 with the XF 35mm F2 WR permanently affixed, and an X-T2 with XF 16mm F1.4 WR and XF 90mm F2 WR.

Have a look at your own numbers. What lens do you find yourself gravitating towards? Is it actually the lens you get the highest “hit rate” from? Or are you constantly cropping to get to the composition you want? Your catalogue of photos is full of data you can learn from. See if your assumptions are correct.

  1. Have I said that too much? ↩︎
  2. But that interface, yikes. ↩︎

Firmware and App Updates

X-T2

Fujifilm released a firmware update for the X-T2 a couple days ago. Here’s a plainer language version of the key fixes:

  1. Tethering support. There is a lot to parse here, and it sounds as though some of it preemptively addresses software that is yet to be released.
  2. Buttons and dials can now be locked during shooting.
  3. A fix for shutter speed info not displaying under specific settings.
  4. Overexposure when AF-C and Face Detection are selected.
  5. Fix for poor AF performance when using the XF 18-135mm F3.5-5.6 WR at the telephoto end.
  6. This is a tough one. It sounds like the camera would freeze during menu selections for PC auto save.
  7. Fix for when using shoe-mounted flash and CH burst mode.
  8. Fix for Nissin i40 flash not firing.

iOS

An update to the Camera Remote app was released yesterday to address iOS 10 issues. The app was getting hammered in the reviews, last I checked. Hopefully this helps.

Really Right Stuff at B&H

If you’re a fan of quality camera support—and honestly, who isn’t?—you’ll be as pleased as I was to read that B&H Photo is now carrying Really Right Stuff gear.→ It’s mostly just tripods and one lonely Fluid Head from what I can tell so far, but hopefully they will soon carry the ballheads and plates too.

Full disclosure: As should be apparent, I am part of B&H’s affiliate program. That said, I’ve been recommending Really Right Stuff Gear since I started this website. Their gear has been great for me, and their customer support is top notch.

What I Learned on Safari

While I was posting a 3 part series of prepping for South Africa, I knew I’d be writing a follow up post about what I got right, and what I got wrong.

Here’s what I learned after three days, five game drives, a couple of nature walks, and many hours posted up in a “hide” near the watering hole while on “Safari” in Honeyguide’s Mantobeni Tented Safari Camp.1

Learning Curve

A lot of what follows only occurred to me after a couple sessions of shooting. In truth, before getting my XF 50-140mm F2.8 WR, the longest focal length I had used with any regularity was an 85mm on APS-C. I mostly use the XF 50-140mm F2.8 WR in a studio setting, so outside of practicing in my backyard on squirrels and birds as much as possible, shooting with lenses this long was a fairly new experience. Even the act of finding an animal you’ve seen with your eyes through a viewfinder at 200mm or higher can be tricky. In my limited time out in the bush, I got quite a bit better at it, but by no means am I proficient. I would need much more experience. You gotta start somewhere though, and the point is, if you’ve never done this kind of shooting before, get as much practice as possible, and expect a learning curve of your own.

Camera Bodies

The X-Pro2 faired well on the drives, and I could feel the performance boost it offers over previous bodies, but the X-T1 outclassed it in terms of operational capabilities. The tilt screen came in really handy at times when I wanted to rest the XF 100-400mm F4.5-5.6 WR on my Safari Sack beanbag,→ which in turn was rested on an armrest at thigh height as I was seated. Often animals were relatively still, and I wanted to lock focus on them, glance down at the tilted LCD on occasion, and otherwise watch the animals “IRL” so to speak, and burst 8 frames per second when I caught or anticipated a good expression from the animal. This is another thing that takes practice, lest you find yourself with dozens or even hundreds of frames to wade through in post, like I did.

Two X-T2’s would have been the best of both camera worlds in this situation, and would be my ideal body configuration, were I to visit another game park in the near future. I really wish that camera had been available before I left.

I opted for the battery grip on the X-T1, and would do with X-T2s as well. Not only was the grip convenient from a handling perspective, the extra battery gave me confidence I wouldn’t run out of power on a drive. As it turns out, I was overly cautious here.

Lenses

On my first drive, I brought my X-T1 with vertical grip and XF 100-400mm F4.5-5.6 WR attached, and my X-Pro2 with XF 16-55mm F2.8 WR attached. I figured this would be the right balance of coverage for my first time out to assess future drives.

What I found was the standard zoom was of almost no value, despite our driver getting us remarkably close to the animals. I don’t think I took a single frame with it that wasn’t zoomed in towards the top end of its focal range. Since that is covered by the XF 50-140mm F2.8 WR, I knew I’d be swapping the standard zoom for it on the next drive.

I didn’t even think about changing lenses during my game drives. I would have just been asking for a ton of dust on my sensor. I would recommend against lens changes.

Teleconverter

Given I had considered not even bringing the XF 100-400mm F4.5-5.6 WR, I decided to do the first drive without the 2× teleconverter. Reports indicate there is at least a bit of an optical penalty with the 2× teleconverter, and I’ve noticed that as well,2 but on our first drive, we were lucky enough to catch a pair of leopard cubs that I really wanted to get closer to.

From that drive on, my camera setup was the X-T1 with 2× teleconverter and XF 100-400mm F4.5-5.6 WR, and the X-Pro2 with XF 50-140mm F2.8 WR.

Batteries

If you’re judicious about turning your camera off when not in use, one battery per camera should get you through a 3 hour game drive just fine. I have no idea if that’s a standard duration, but the time of the drives seemed to work for capturing animals when they were active, and the best light of the day. After a drive, I’d get two batteries charging in this Watson Duo Battery Charger,→3 which I highly recommend. It’s a little bigger than I’d like, and I brought two Fuji chargers as backup, but it worked flawlessly, showed me how much charge my batteries had, and charged them up really quickly. You can even buy replacement plates for it and charge, say, an X-Pro2 and X100T battery at the same time. I travelled with a total of seven batteries, but I could have done the trip quite easily with five.

Accessories

All those beanbag recommendations you’ve read are spot on. I bought a Safari Sack before I left, and it was indispensable.

My Really Right Stuff Safari Clamp saw some use on the drives, especially during the time I needed to get higher than the beanbag would allow, and holding a camera with the XF 100-400mm F4.5-5.6 WR attached would get tiring. It turned out to be more useful at other times, like when my tripod was temporarily confiscated before getting on the boat to Robben Island. I would have been really bummed if I wasn’t able to capture a pano of Cape Town from the island, and there were plenty of railings near the water for me to clamp onto.

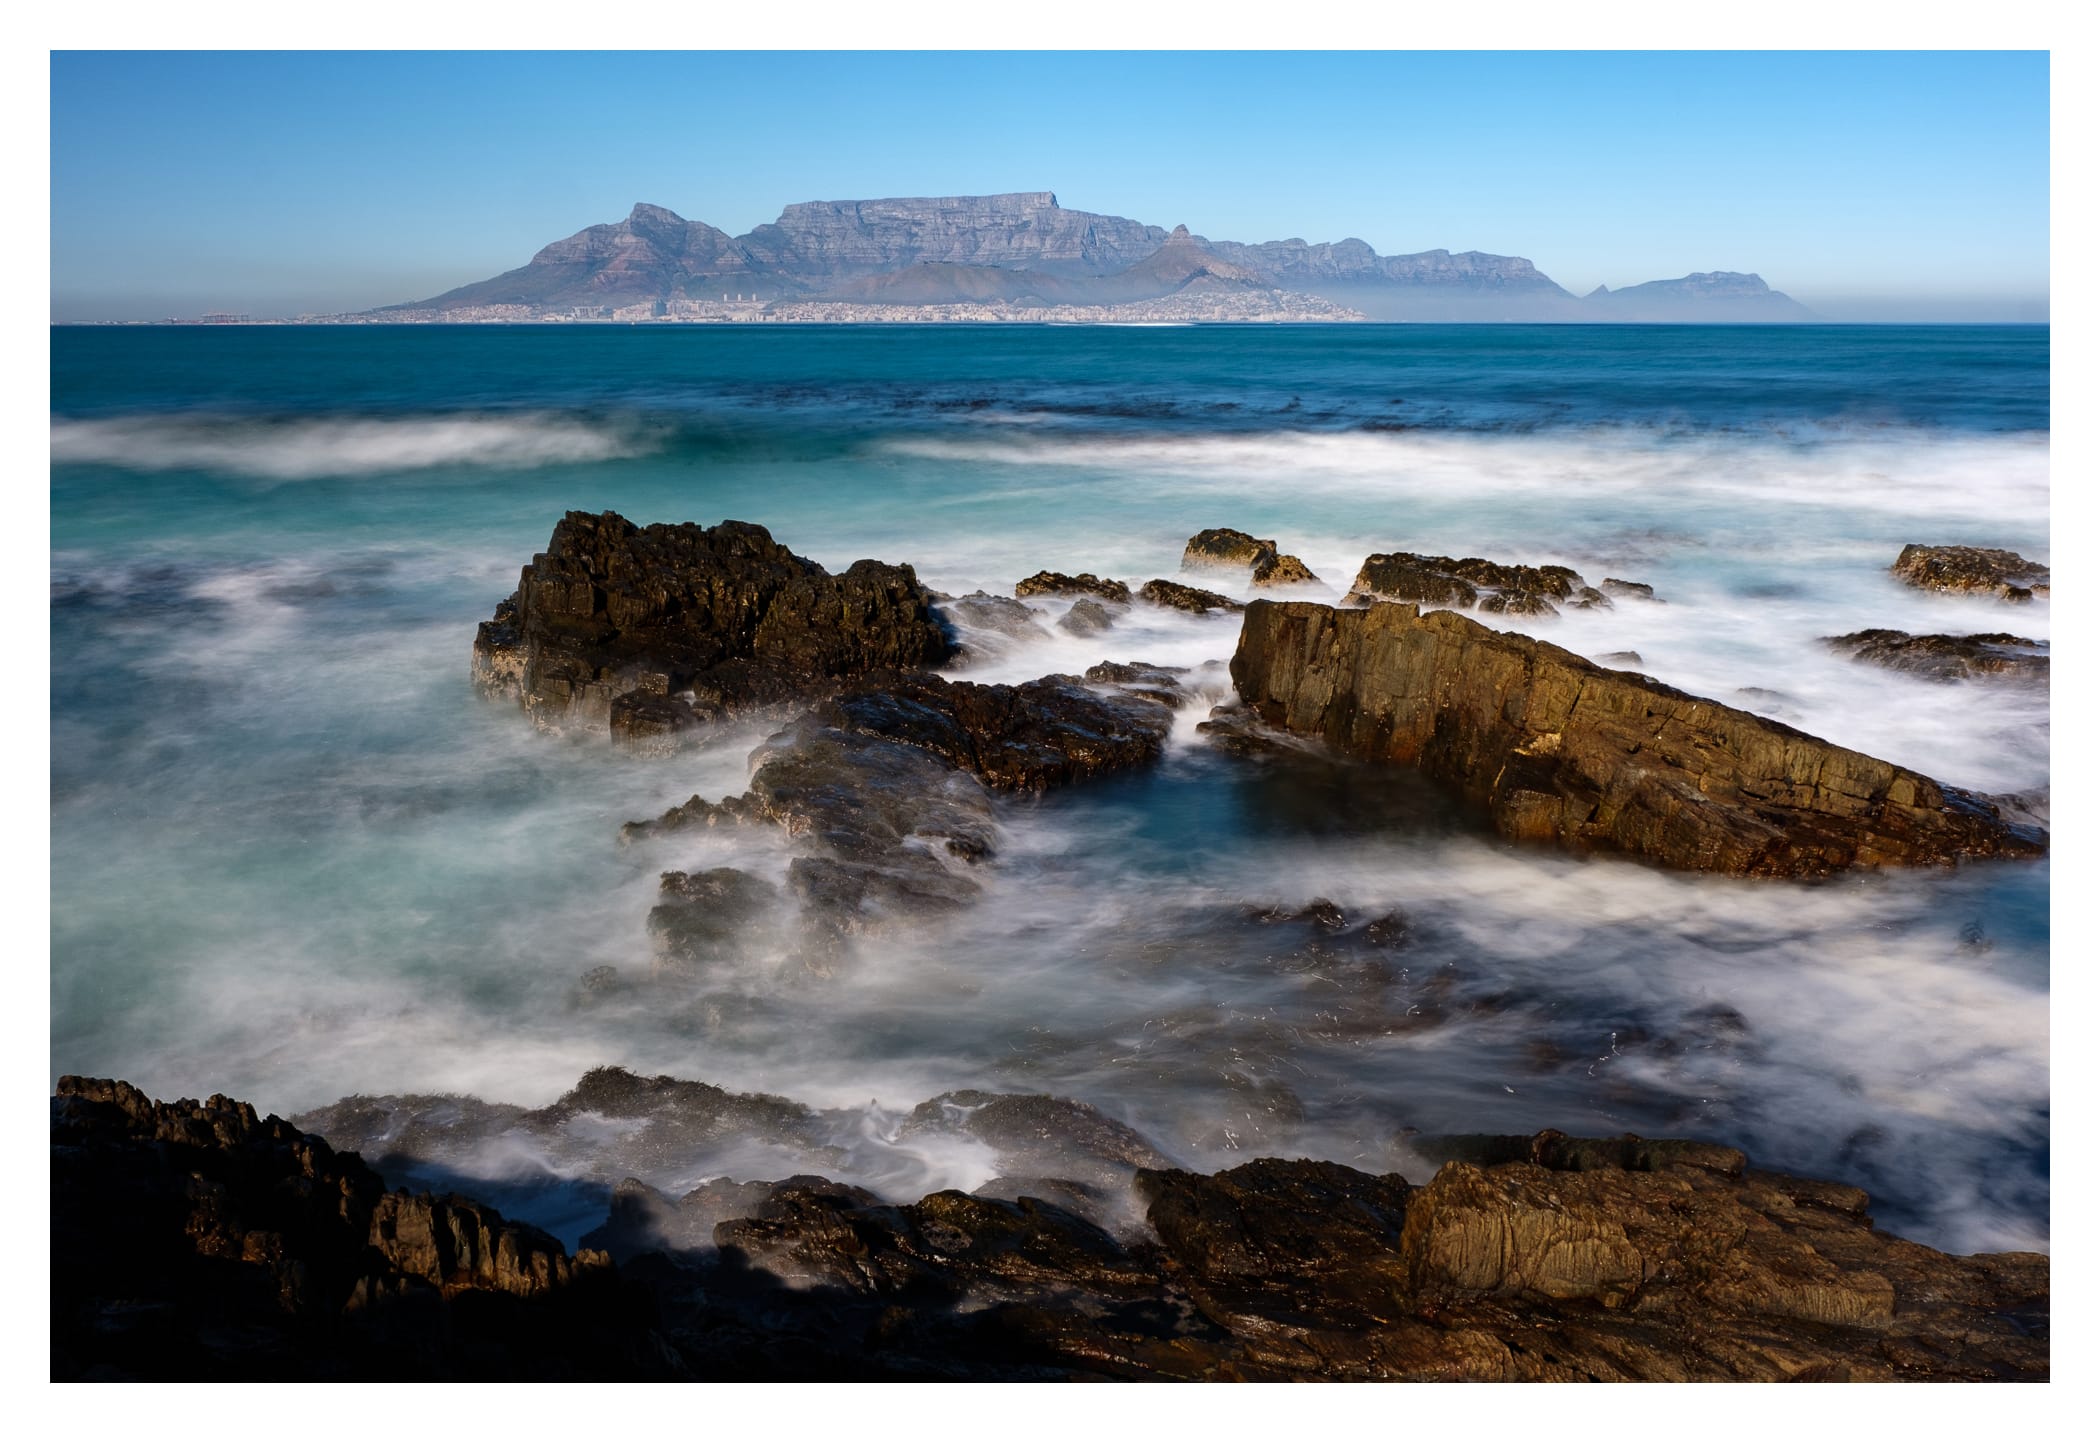
Cape Town and Table Mountain as seen from Robben Island

I was looking into a monopod as Thom Hogan suggests before my trip, but truthfully, I can’t think of a time when it would have worked much better than what I had, and it probably would have got in the way. Perhaps I could have extended it fully with it planted on the ground and hung out the side of the vehicle a bit more, but often things happened so fast there was barely time to “set up.” I was tossing my beanbag from one place to another, and at times forgoing it altogether to snap a frame before more active animals moved again. Plus, we were to remain seated during the drives, as the vehicle changing shape can (allegedly) alert the animals, and we had a canopy over us anyhow; two good reasons not to stand during the drive. In other parks, it seems you stand up, and in those instances, a monopod might be just the ticket. Depending on where I go, I may have one by the time I head back to Africa.

The repacement EC-XT-L Eye Cup→ for the X-T1 helped a lot in the bright sun. This isn’t something X-T2 users need to be concerned about, but if you are bringing an X-T1 or two, I would highly recommend buying a couple of these.

Other

As mentioned, you’d be nuts to have your sensor exposed during a game drive, but when we stopped for our mid-drive coffee/wine break, I would have been totally fine with a non-dust-resistant camera like an X70. I ended up using my iPhone for this, which was fine, but it’s not the same. I’m still not sure it would be worth hauling a second set of batteries/chargers, but worth considering. If a camera is in your bag, it won’t get affected by the elements.

Wishlist

I’d love for Fuji to release a 300mm or 400mm f/2.8 or faster WR lens that matches the optical quality of the XF 90mm F2 WR. The XF 100-400mm F4.5-5.6 WR is a superbly versatile lens, and is optically decent, but a fast prime would allow for lower ISOs on top of presumably being much sharper.

Closing

Apart from wanting a faster, sharper exotic lens and wishing the X-T2 had been released a little bit earlier, I don’t feel as though I was let down by my equipment in any way while on Safari. It was my own technique, and luck of the animal draw that had the biggest impact on my photographs. I may write a subsequent post detailing my learnings from such a big trip overall; what gear I used most, what, if anything, could I have left behind, etc.

As for the Safari experience itself, it was absolutely incredible, and something you really should try to do at least once if you have the means. Africa wasn’t even on our radar as a travel destination before this opportunity presented itself, and we couldn’t be happier it did. I don’t have a particularly large frame of reference, but family members who have been to a variety of game parks agreed that Honeyguide are a fantastic company. If you happen to visit, Fanuel is an extraordinary driver who will do absolutely everything he can to get you close to the animals in a way that still respects their wellbeing.

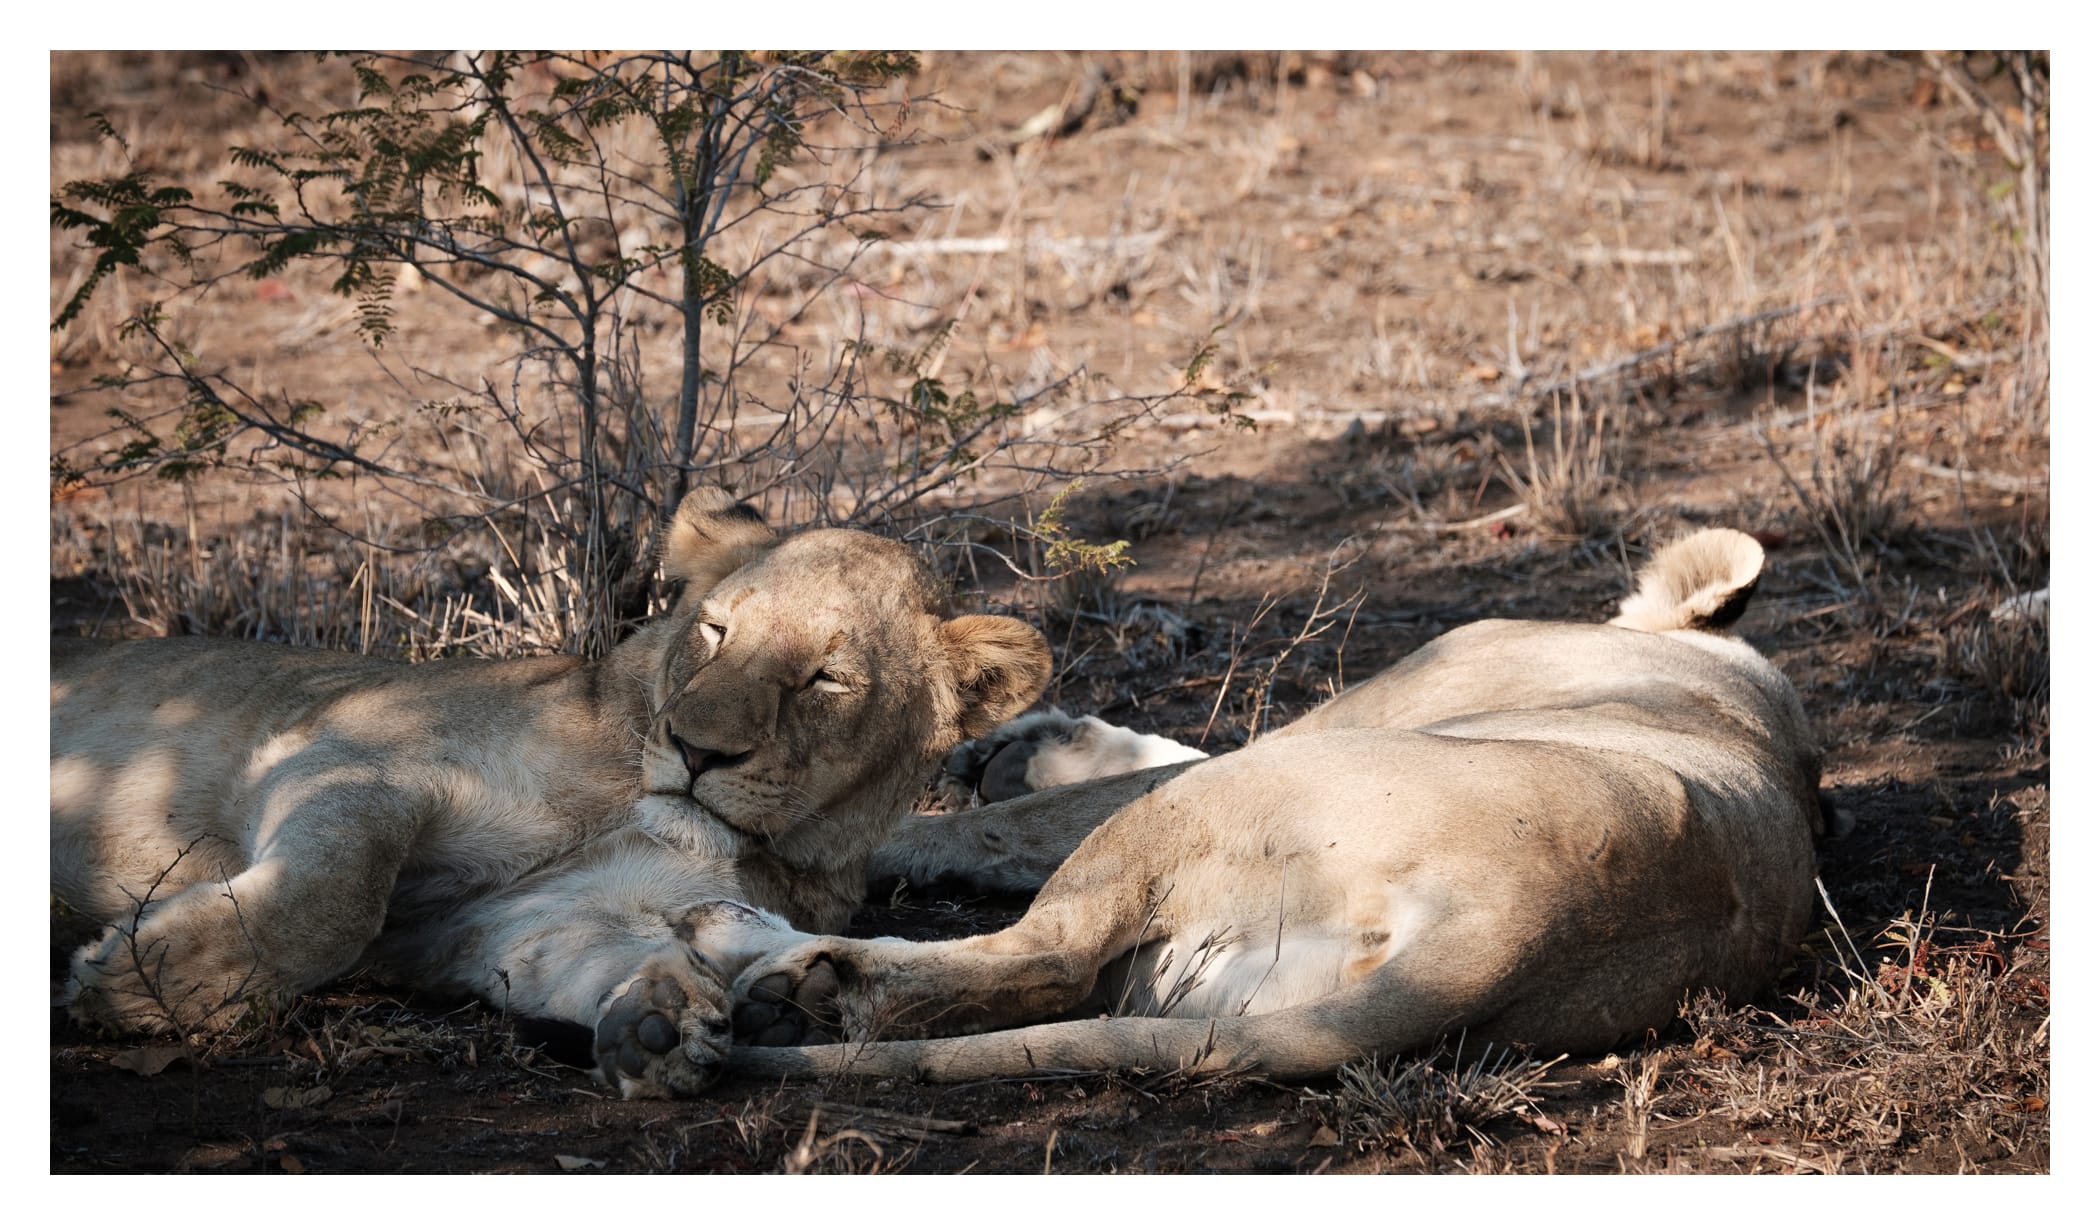
About the Image

X-T1 + XF 100-400mm F4.5-5.6 WR at 280mm
XF 2× TC
1/500 sec. at f/5.2, ISO 500

I chose this image of a female from a series of images because this one appears particularly wise; a fitting trait for a post about learnings. We were able to get incredibly close to about 5 female lions who were all mostly lounging around. This profile is from when one raised her head to give us a smell.

I started with a RAF in this case, despite working with a pre-X-Trans III. Sharpness wasn’t my primary goal here, and I wanted as much information as possible to run the image through Silver Efex Pro.4 I’m quite pleased with the result.

  1. Footnote review: You can’t go wrong with Honeyguide Tented Safari Camps. The lodgings were fantastic, the food sublime, and the animals plentiful. During our stay, trucks saw “the big five” in a single outing multiple times. Your mileage will vary, of course, but we were pretty fortunate, and I hope to return to that park one day. ↩︎
  2. Where I’m seeing it worst in reviewing my images is when focused at infinity on objects that are very far away, perhaps a kilometre or more. Closer subjects appear to be rendered sharper, but I’ll report back after further review. ↩︎
  3. Another product I plan to do a review on, but what I’ll say now is if you have an X100 or X70 along with your interchangeable lens Fuji camera, you can just buy a set of NP-95 plates along with the WP-126 Duo charger, and you’re good to go. I even had one of each batter charging ok in mine. Great stuff. ↩︎
  4. Still sad Google bought and abandoned the Nik Collection of software, but at least it’s free for as long as it runs. ↩︎

Back in Action

It’s been a while. Too long. A variety of things contributed to my extended absence. The biggest was an unexpected move from one end of the city to the other. This consumed significantly more time than I expected, and I’m still not quite finished yet. In order to secure the new house, we accepted a very long close at the end of June 2017. That said, the crazy parts of finding a house, buying it, staging our current house, selling it, then finding a place to rent for six months have all been taken care of, so I should be able to get back to some sense of normalcy. Plus, both the rental property and the new house will have a dedicated studio space (as opposed to the basement corner I currently work in) and that should hasten my ability to test gear and produce content substantially. I am very excited about this.

The other issue is backorders. I still don’t have my copy of the X-T2 and XF 23mm F2. I had the opportunity to try the X-T2 a few months back, and used it a fair bit, but not enough for me to feel comfortable doing one of my typical handling reviews. That, and a comparison of Fuji’s 23mm offerings will come as soon as possible.

Finally, the move put a severe damper on my ability to get through the photos from my trip, and get that photographic workflow I mentioned sorted, I’m only now getting through both of those things. I’ve been eager to share images from my trip, and will do so soon.

Man, it’s good to be writing again.

About the Image 1

X-T1 + XF 10-24mm F4 at 10mm
10-stop ND filter
30 sec. at f/8, ISO 200
Really Right Stuff TQC-14 tripod, BH-30 Compact Ballhead, and L-Plate

This is image was captured a little over two years ago right near where I will soon be living. Torontonians will likely recognize it immediately.

The 10-stop neutral density filter resulted a huge amount of vignetting that I think adds to the image, as well as a warmish colour cast that B+W ND filters are known (notorious?) for. I’ve since switched to Breakthrough Photography for all my neutral density needs. I knocked the blacks down to emphasize the falloff and mood, bumped the Clarity and Vibrance a little in the sky, and removed some of the larger distracting pebbles in Photoshop.

I chose JPEG as my starting point on this image, having captured both JPEG and RAF. I still can’t get acceptably sharp images out of Lightroom when processing X-Trans II and earlier RAFs. When I shot this, I was still testing out the in-camera Sharpness settings, and had them set too high, resulting in some sharpening halos around the fine detail. Fortunately, downsampling the image for the site reduces the halos significantly, as seen on a retina display. Moral of that story, take care when shooting with sharpness set higher than its default on JPEGs you have any intention of doing post work on.

Aesthetically, I like how the swirling in the clouds, the lines of the boats and the dock, and the elliptical inlet work together, and the wide angle works with the pebbly sand to draw the eye to the Lifeguard Station.

  1. One sensible piece of constructive criticism I once received about this site was that I don’t include enough actual photos captured by the equipment I review on a technical level. It’s a fair criticism. My intention was always to include more example photos in the reviews of lenses, but I have fallen short on getting those review posted.

    This image is the start of my attempt to add more example images that will hopefully be mostly relevant to the written content, with a quick blurb on how it was created. Please don’t hesitate if this is something you’d like to see more or less of.